
Getting Started
From carton to first camera on screen is about ten minutes: connect the Edge Processor, claim it by serial number in Device Management, add a camera by stream URL, and open Live View. This page walks the whole path.
Setup checklist
Tick items off as you go — your progress is saved in this browser, and you can print the list to take on site.
Step 1 — Connect and power on
- Place the appliance somewhere ventilated and secure, close to your cameras' network.
- Connect Ethernet first, then power. The appliance boots and comes online within a couple of minutes.
- That's it — the device is pre-imaged and finds its way to the cloud on its own. It must be online before you can claim it.
Step 2 — Claim the Edge Processor
The fastest way to claim: scan the QR sticker attached to the appliance with your phone. The sticker encodes the device's unique serial number, and scanning it takes you straight to the device pairing screen in Performance Hub.
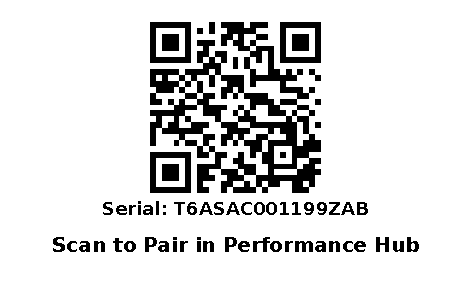
Figure 1: The pairing QR sticker attached to every appliance — scan it to jump straight to pairing
You can also claim it manually:
- Open Device Management in Performance Hub and click Add New Device.
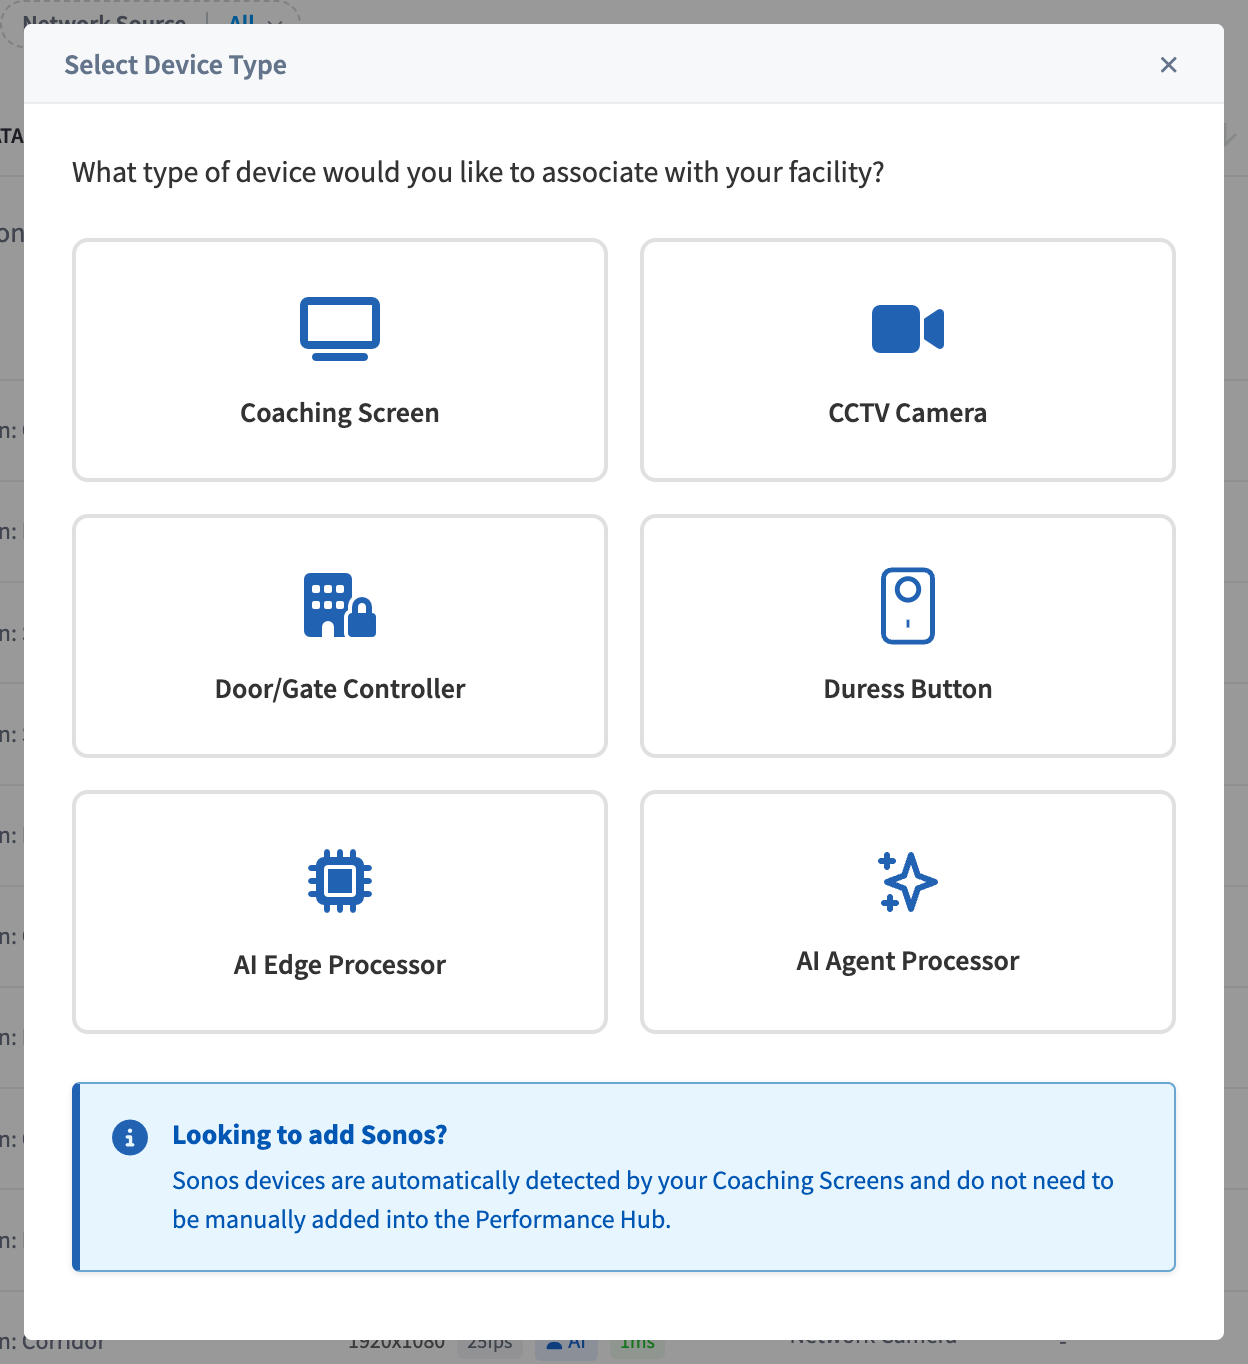
Figure 2: The Select Device Type dialog — choose AI Edge Processor
- Choose AI Edge Processor.
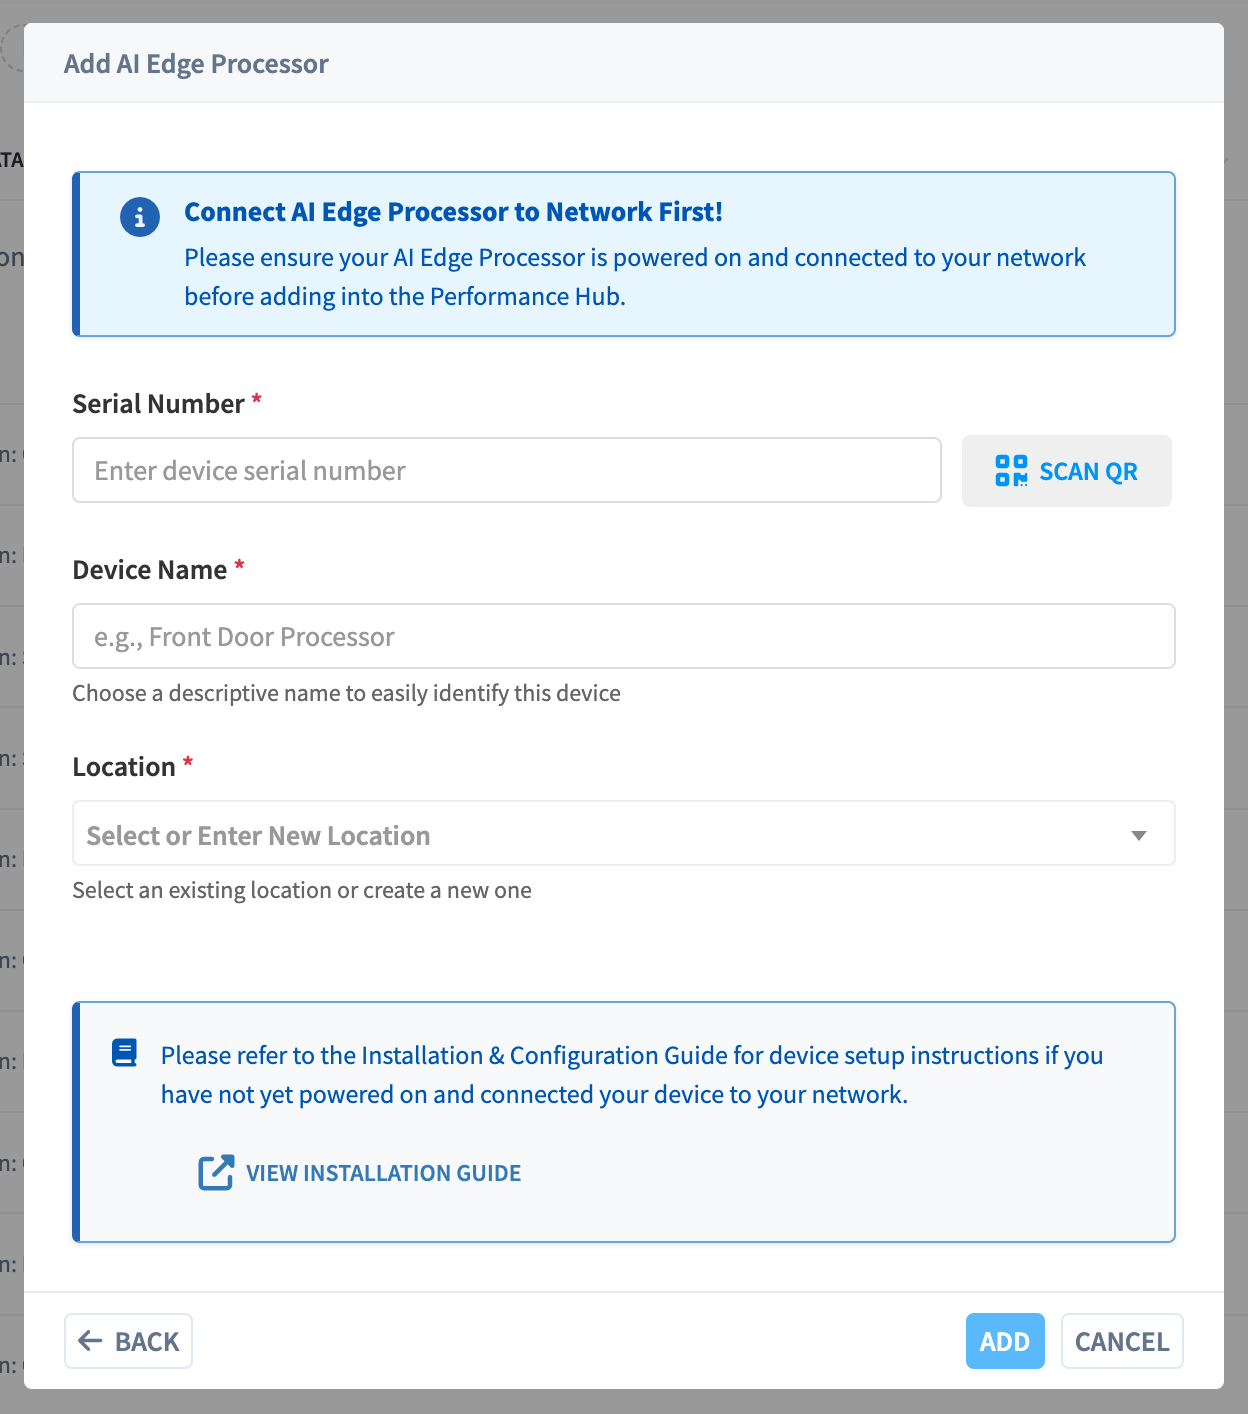
Figure 3: The Add AI Edge Processor dialog — serial number, name, and location
- Fill in the dialog. The banner reminds you: "Connect AI Edge Processor to Network First! Please ensure your AI Edge Processor is powered on and connected to your network before adding into the Performance Hub."
| Field | Notes |
|---|---|
| Serial Number | Pre-filled if you scanned the QR sticker — otherwise type it from the sticker or the label, or click Scan QR to scan the sticker with your computer's camera |
| Device Name | What everyone will see, e.g. Ground Floor Processor ("Choose a descriptive name to easily identify this device") |
| Location | "Select an existing location or create a new one" |
- Click Add. The claim checks the device has been heard from recently — if it fails, confirm power and network and give it a minute. Once claimed, the appliance receives its facility identity and begins provisioning (you may see a "Provisioning" badge for a short while).
Whoever's facility the device is claimed into owns it — an appliance belongs to exactly one facility at a time.
Step 3 — Add your first camera
- In Device Management, click Add New Device again and choose CCTV Camera.
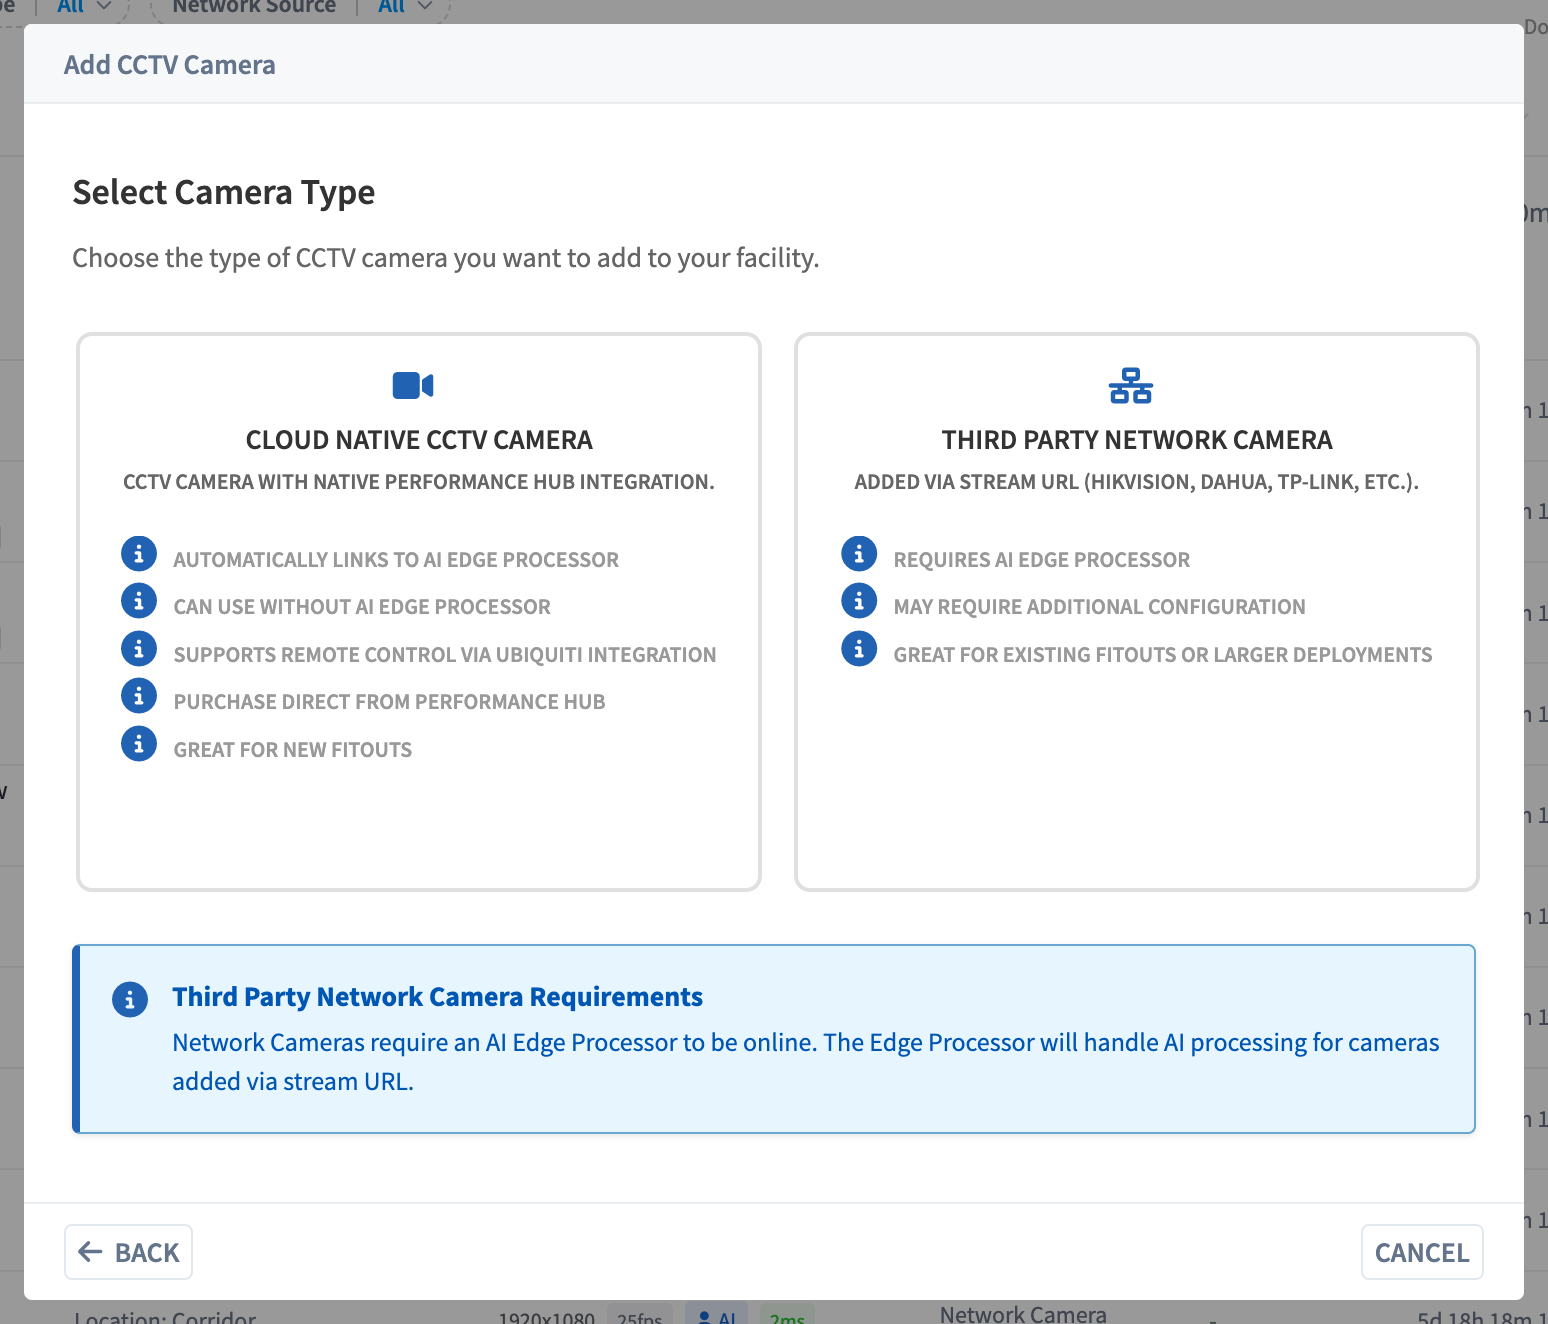
Figure 4: Camera type selection — cloud-native or third-party network camera
- Choose Third Party Network Camera to add one of your existing IP cameras (or Cloud Native CCTV Camera if you purchased cameras through Performance Hub — those link to the Edge Processor automatically). Network cameras require the Edge Processor to be online: "Network Cameras require an AI Edge Processor to be online. The Edge Processor will handle AI processing for cameras added via stream URL."
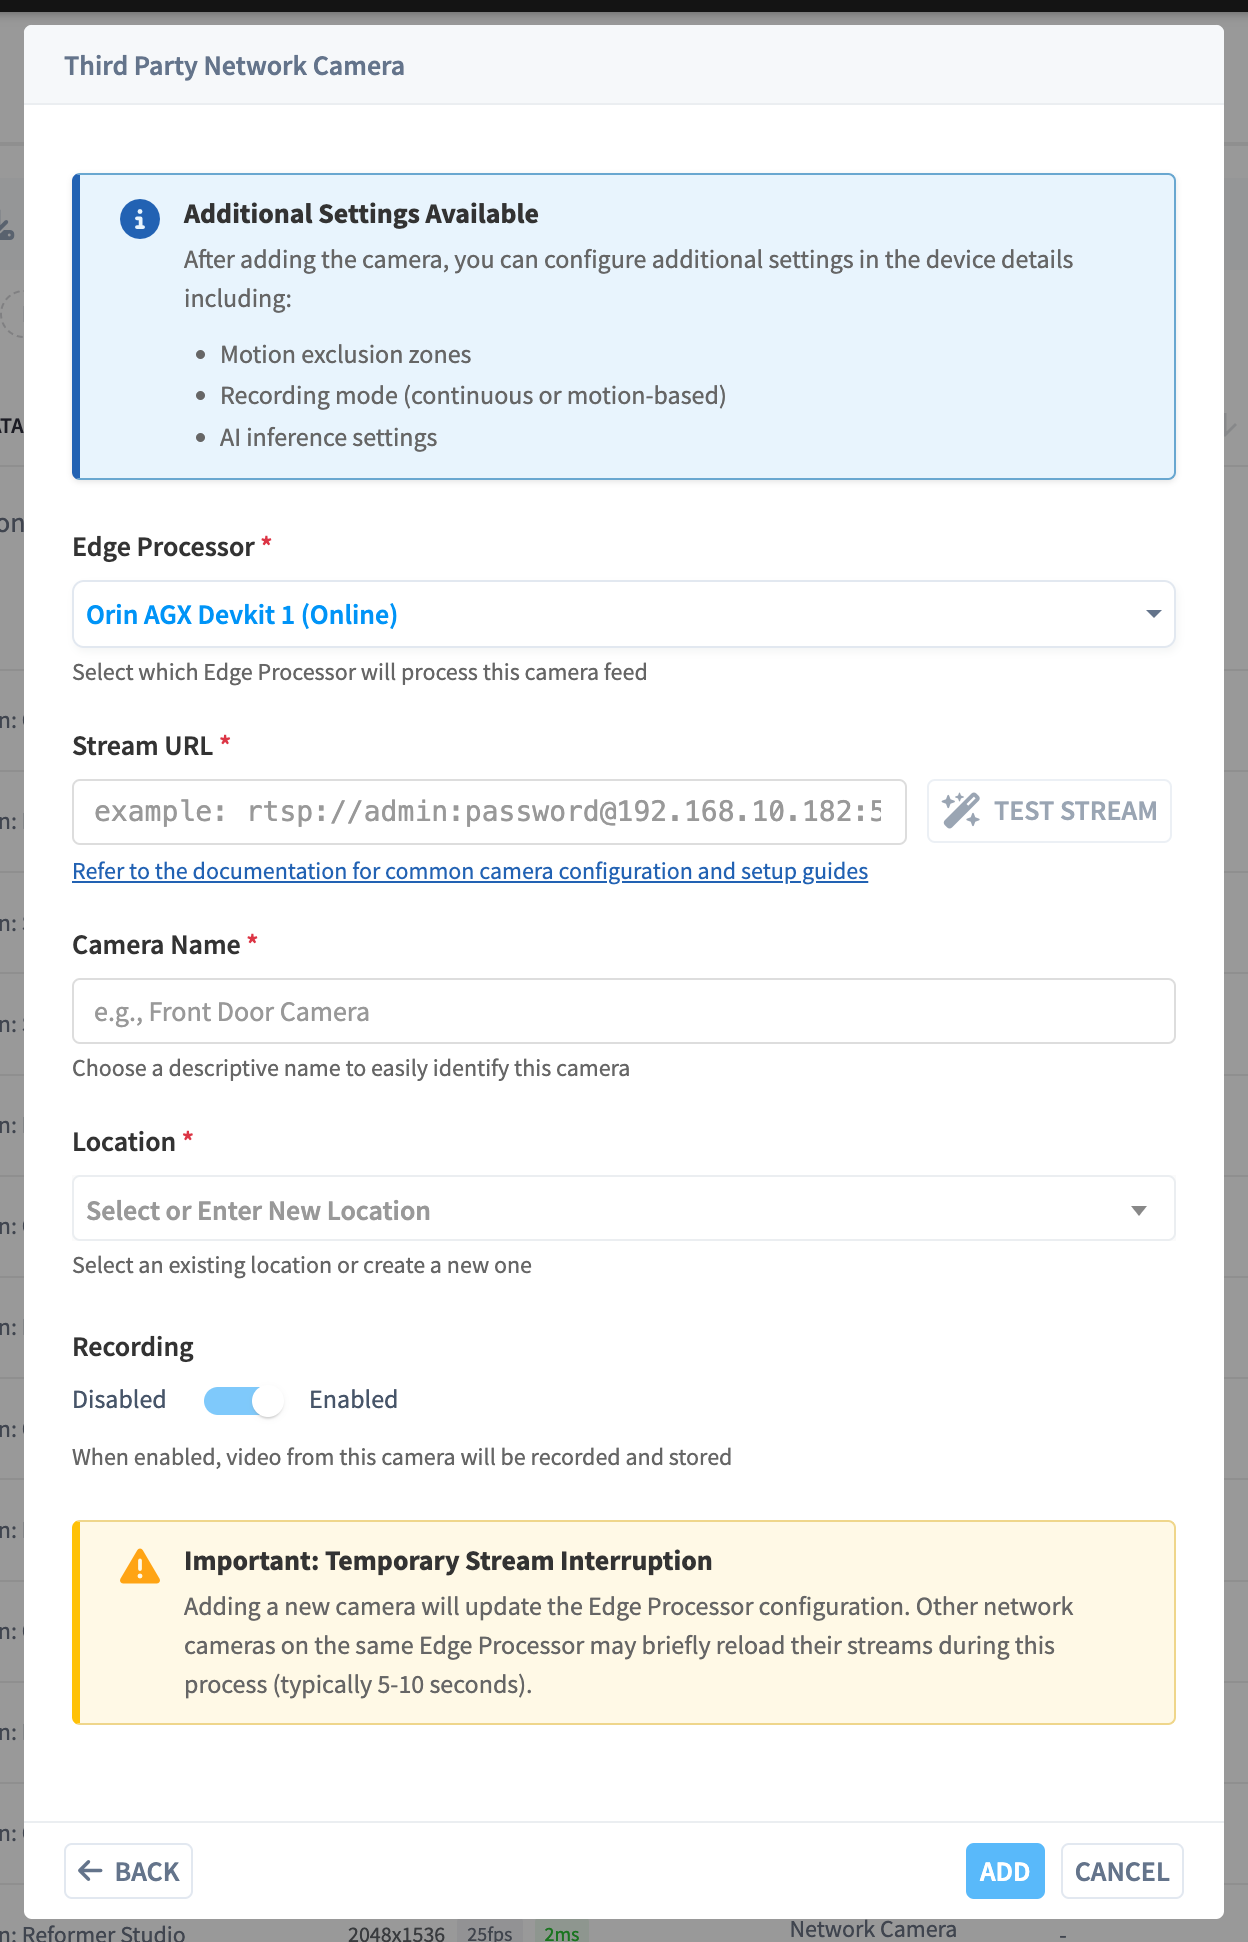
Figure 5: Adding a network camera — Edge Processor, stream URL with Test Stream, name, location, and recording toggle
- Fill in the form:
| Field | Notes |
|---|---|
| Edge Processor | "Select which Edge Processor will process this camera feed" — only online processors can be selected |
| Stream URL | The camera's stream address, e.g. rtsp://admin:password@192.168.1.50:554/stream1. Look up your camera in the Camera Database for a ready-to-paste URL, then click Test Stream to verify it live before adding |
| Camera Name | e.g. Front Entrance ("Choose a descriptive name to easily identify this camera") |
| Location | "Select an existing location or create a new one" |
| Recording | On by default — "When enabled, video from this camera will be recorded and stored" |
- Click Add. The stream is tested automatically if you haven't tested it already. If other cameras are already on the same Edge Processor, note the warning: "Adding a new camera will update the Edge Processor configuration. Other network cameras on the same Edge Processor may briefly reload their streams during this process (typically 5-10 seconds)."
The camera appears in Device Management nested under its Edge Processor, and in the CCTV module within moments. Repeat for the rest of your cameras — see Cameras & devices for stream-URL guidance per camera brand and every per-camera setting.
Step 4 — Watch and verify
- Open the CCTV module from the side menu. The Dashboard loads with your storage summary and camera activity.
- Open Live View — your camera is live. Add more cameras to the wall as you connect them (Live view).
- Walk past the camera, wait a minute, and check Recordings — your first motion-triggered clip appears, thumbnail and all (Recordings).
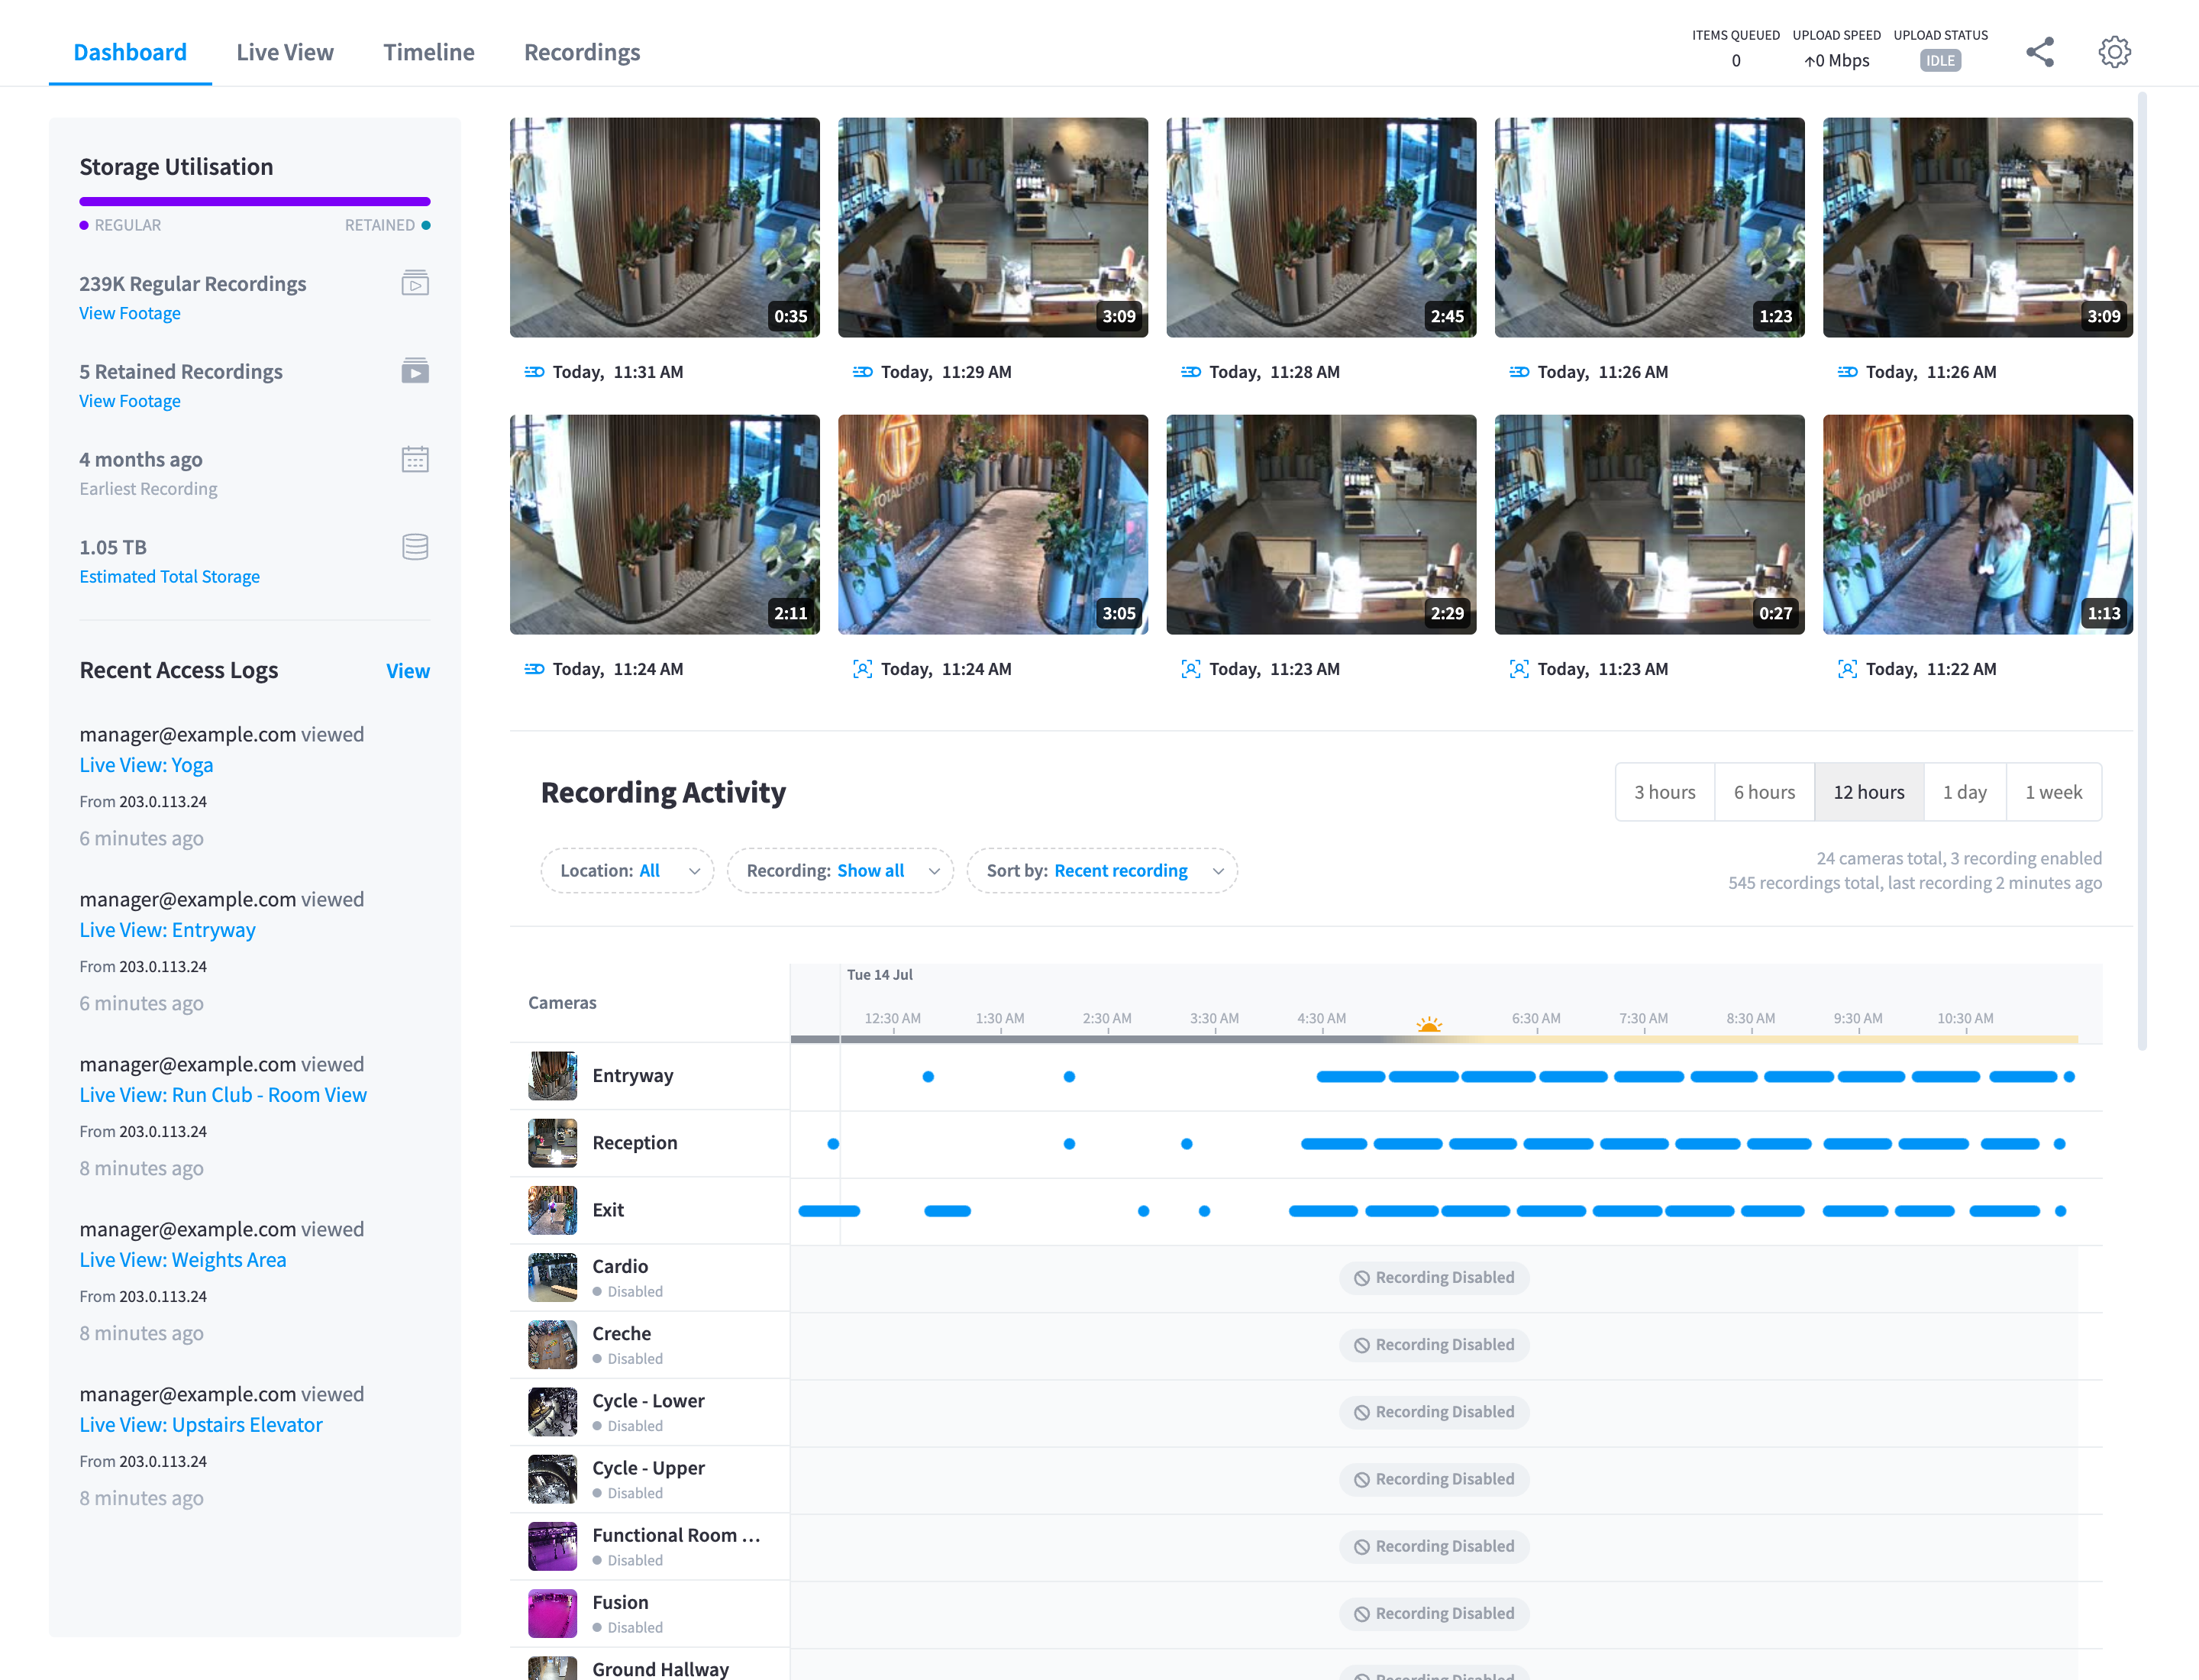
Figure 6: The Dashboard after setup — recordings flowing, storage tracked, activity visible
Step 5 — Set your policies (recommended)
A few minutes in Settings (the gear icon) finishes the job:
- Cloud Storage — choose your storage region (or leave it on Auto) and set your retention policies. Defaults: recordings 1 month, timelapse 6 months, AI metadata 2 years.
- Live View — tune the idle "continue watching" prompts (Live view).
- Per camera — recording mode (motion vs continuous) and motion zones in each camera's device dialog.
What's already taken care of
No NVR to configure, no storage to provision, no port-forwarding, no dynamic-DNS, no software updates to manage — recording started the moment the camera was added, uploads are automatic, and the appliance maintains itself in a nightly window.
Related pages
- Cameras & devices — everything about adding and configuring cameras
- Storage & retention — regions, policies, and costs
- Troubleshooting — claim and stream problems