
Blacklist
Blacklisting tells the recognition pipeline to ignore a face entirely. Once a face is on the blacklist, it is checked first — before any member matching — against a fixed 95% similarity threshold, and on a match the detection is dropped immediately. It never becomes a timeline entry, never joins a profile, never counts in reports.
What blacklisting is for
The name suggests banned people, but the day-to-day use is more mundane — permanent false positives:
- Posters and marketing imagery with faces — detected fresh every single day.
- Mannequins in retail areas (the dialog's own example placeholder is "e.g. Store Mannequin").
- Screens and TVs replaying faces in a camera's view.
- Faces you genuinely never want tracked — a staff member who has opted out, or an individual you've excluded for other reasons.
Left unblacklisted, a poster face becomes an "Unsure" visitor with hundreds of "visits", polluting the timeline, the Unsure KPI, and the Self Learning pipeline. One blacklist entry ends it.
What blacklisting is not
Blacklisting is not an alerting feature. It does not notify anyone when the face is seen — the opposite: it stops the face being seen at all. If you need to know when a specific person arrives, keep them identified and monitor via the timeline or an MCP query instead.
It's also not physical security — it doesn't lock doors or affect check-ins.
How it works
Per the pipeline, each facility has an isolated blacklist face collection alongside its identified and unidentified collections. Every incoming detection is compared against it before anything else:
- Match at ≥95% → processing stops. The detection is recorded internally as a blacklist drop (visible in report snapshot counts as the blacklist cohort) but produces no person, no timeline row, no profile.
- The 95% threshold is fixed — deliberately high so blacklisting can't accidentally swallow lookalike members. It isn't affected by your Member Matching presets.
- When you blacklist an existing profile, its face reference moves to the blacklist collection and the source profile is marked blacklisted — future detections stop from that moment. (Historical detections aren't retroactively rewritten; delete the person's profile as well if you want the history gone.)
Adding a face to the blacklist
From a person profile or timeline tile
The main entry point: open the person's menu (timeline tile or profile view) and choose "Add to Blacklist".
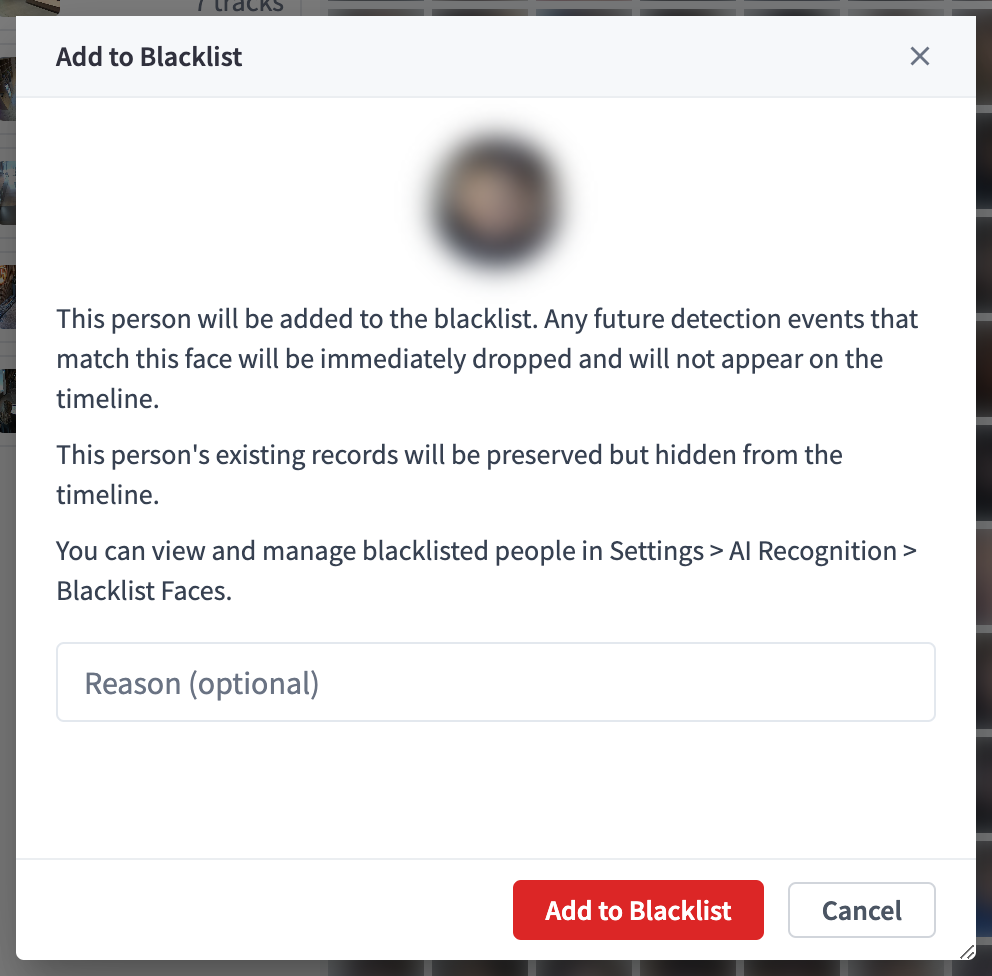
Figure 1: The Add to Blacklist dialog — an optional reason field, with the mannequin example placeholder
The dialog asks for an optional "Reason" ("e.g. Store Mannequin") — write one; three months later, a bare face thumbnail in the settings list means nothing. Confirm with "Add to Blacklist"; success reports "Person has been added to the blacklist".
From Settings
Settings → Face Recognition → Blacklist Faces is the management surface — every blacklisted face for the facility, with its photo, reason, and when it was added.
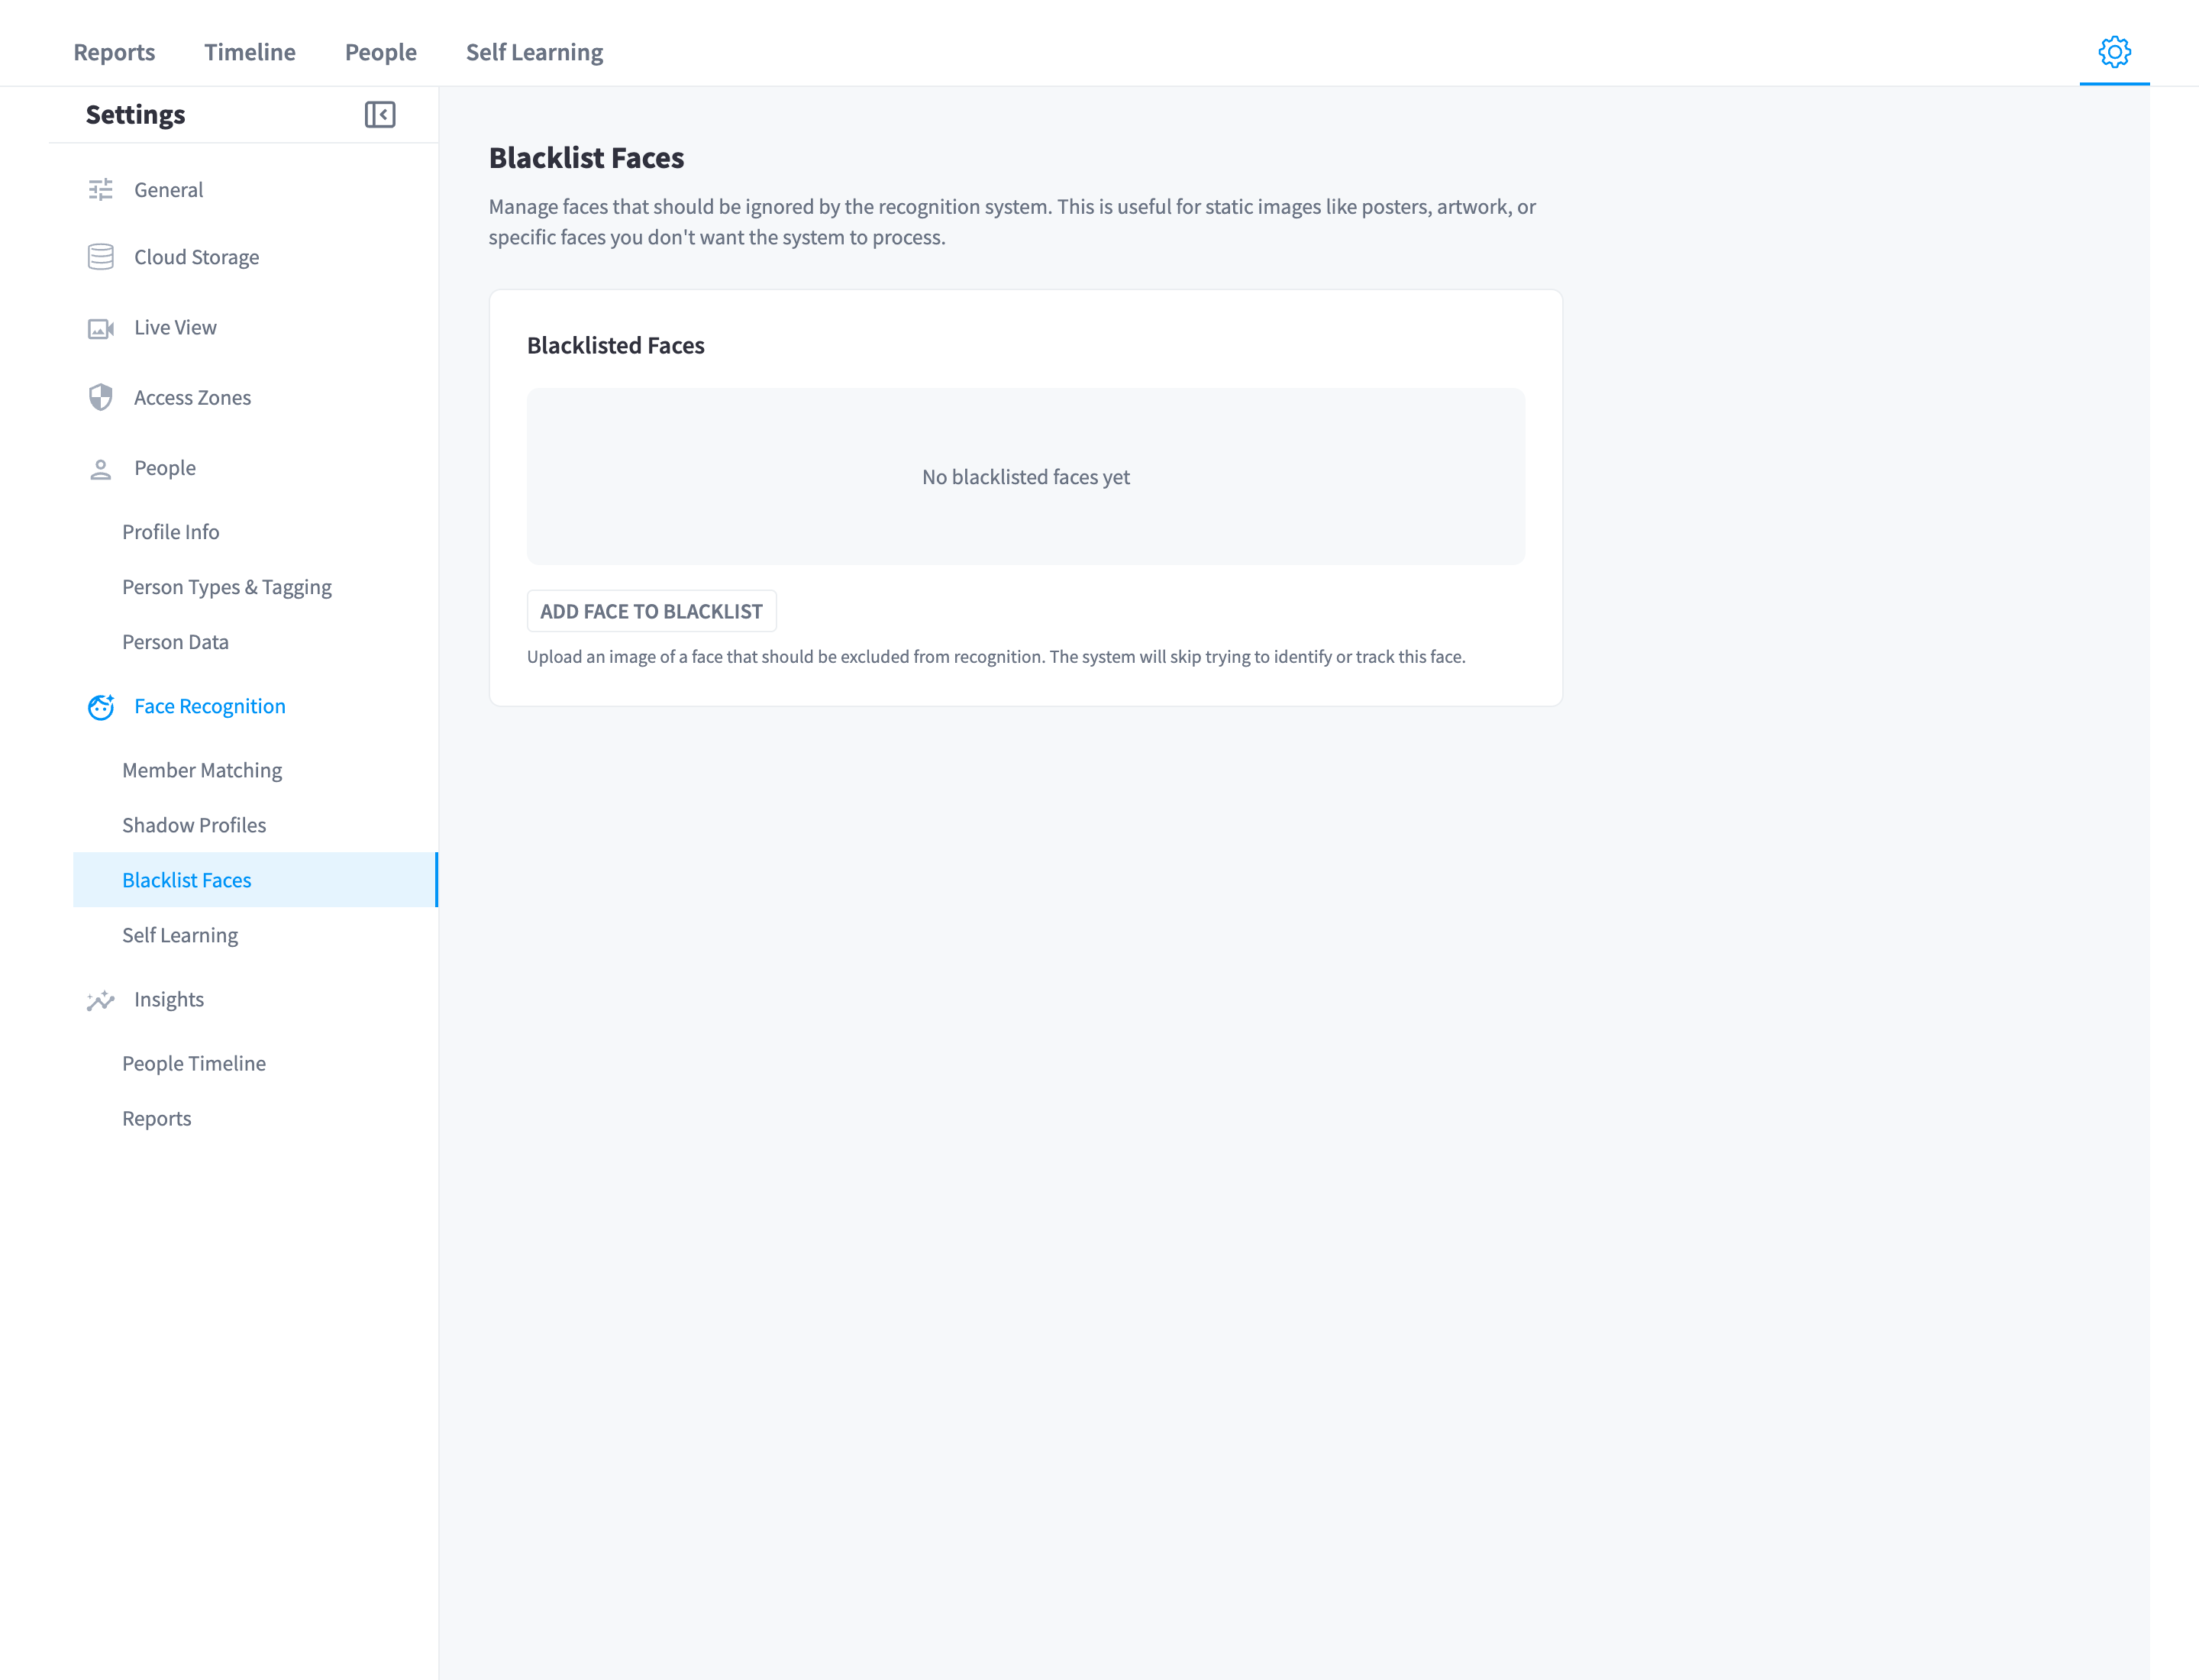
Figure 2: Blacklist Faces settings — the facility's blacklisted faces with reasons, and per-face deletion
Removing a face from the blacklist
In Settings → Face Recognition → Blacklist Faces, use the delete action on the face — the "Delete Blacklisted Face" confirmation removes it from the blacklist collection. From the next detection onward the face is processed normally again: it will re-enter the pipeline as a new detection and (for a real person) build a fresh profile or match a member.
Practical notes
- Blacklist per angle if needed. A mannequin seen by two cameras at very different angles may need a second blacklist entry if detections persist — each entry is one reference image, and the 95% bar is strict.
- Audit periodically. The reasons column makes a quarterly review trivial: anything you can't explain, remove.
- Privacy: a blacklisted face is still a stored biometric reference. Blacklist entries are facility-scoped, covered by the same storage and retention arrangements as other face data — see Security & privacy.
Related pages
- How it works — where the blacklist check sits in the pipeline
- People & profiles — the profile menu entry point
- Security & privacy — biometric data handling