iPhone & Android App
This page is a visual tour of the Door & Gate Access phone app — what members actually see on screen at each step. The features and user interface are identical on iOS and Android; the screenshots below were captured on iOS but apply equally to the Android app.
![]()
![]()
For the full reference on member-facing behaviour (status pills, error messages, app lock policy, and so on), see The Mobile App.
Signing in
There are no passwords. The member chooses Email or Phone, enters the address or number from their User Access record, and taps Send code. A 6-digit one-time code arrives by email or SMS; once verified, they stay signed in — no code needed on every launch.
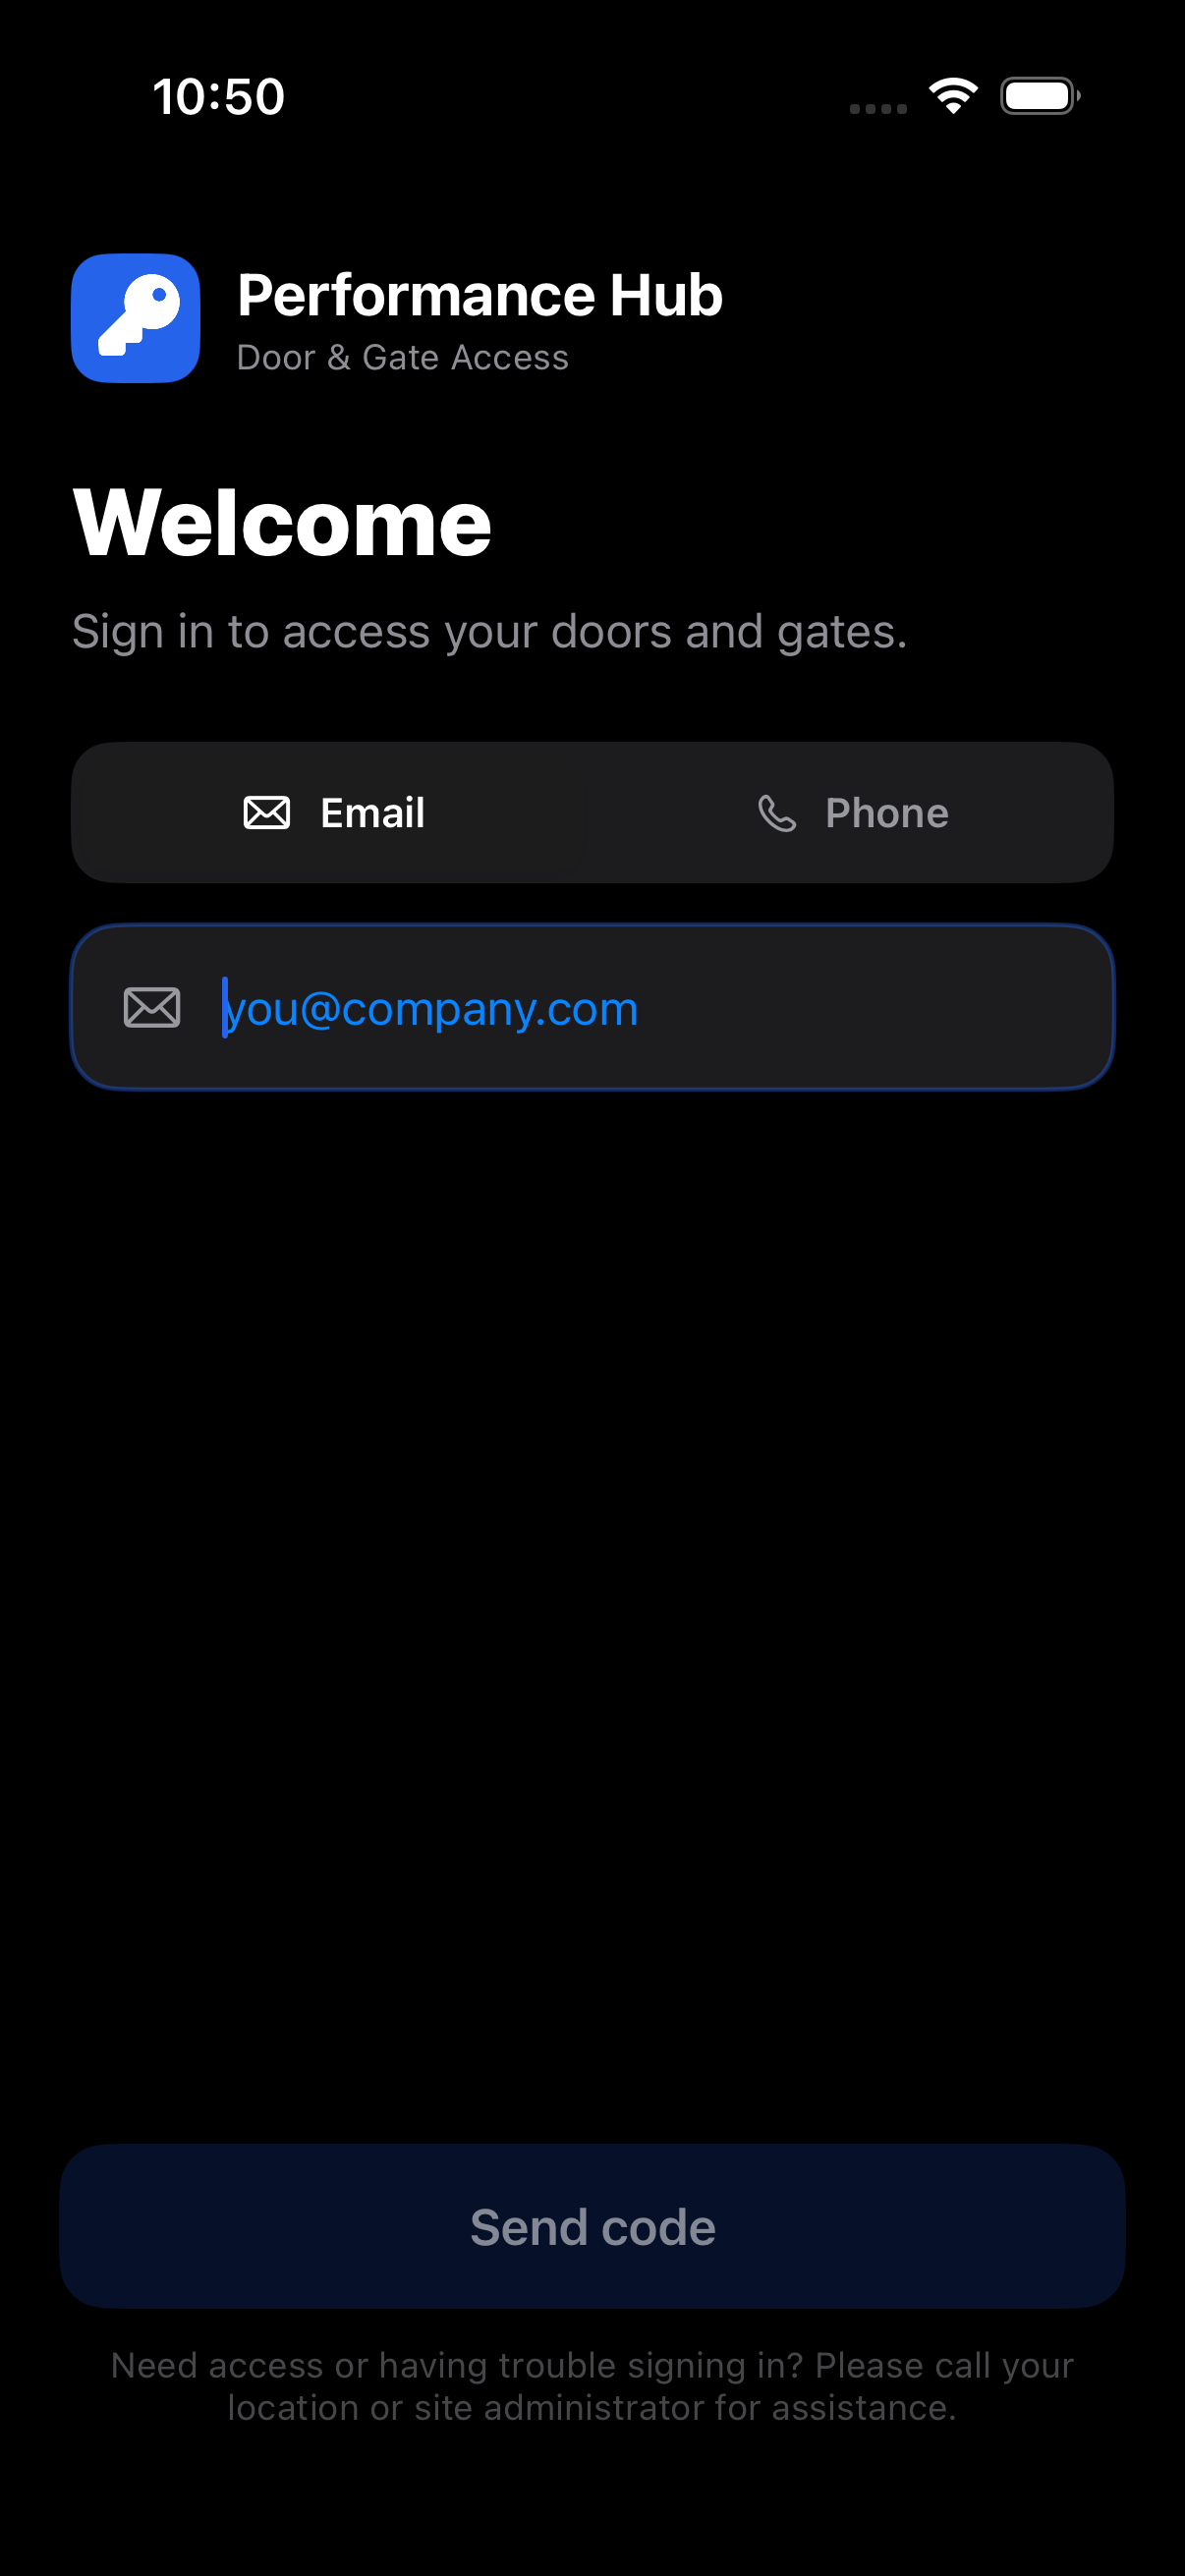
If a member can't sign in, the most common cause is that the email or phone they entered doesn't exactly match their User Access record — see Troubleshooting.
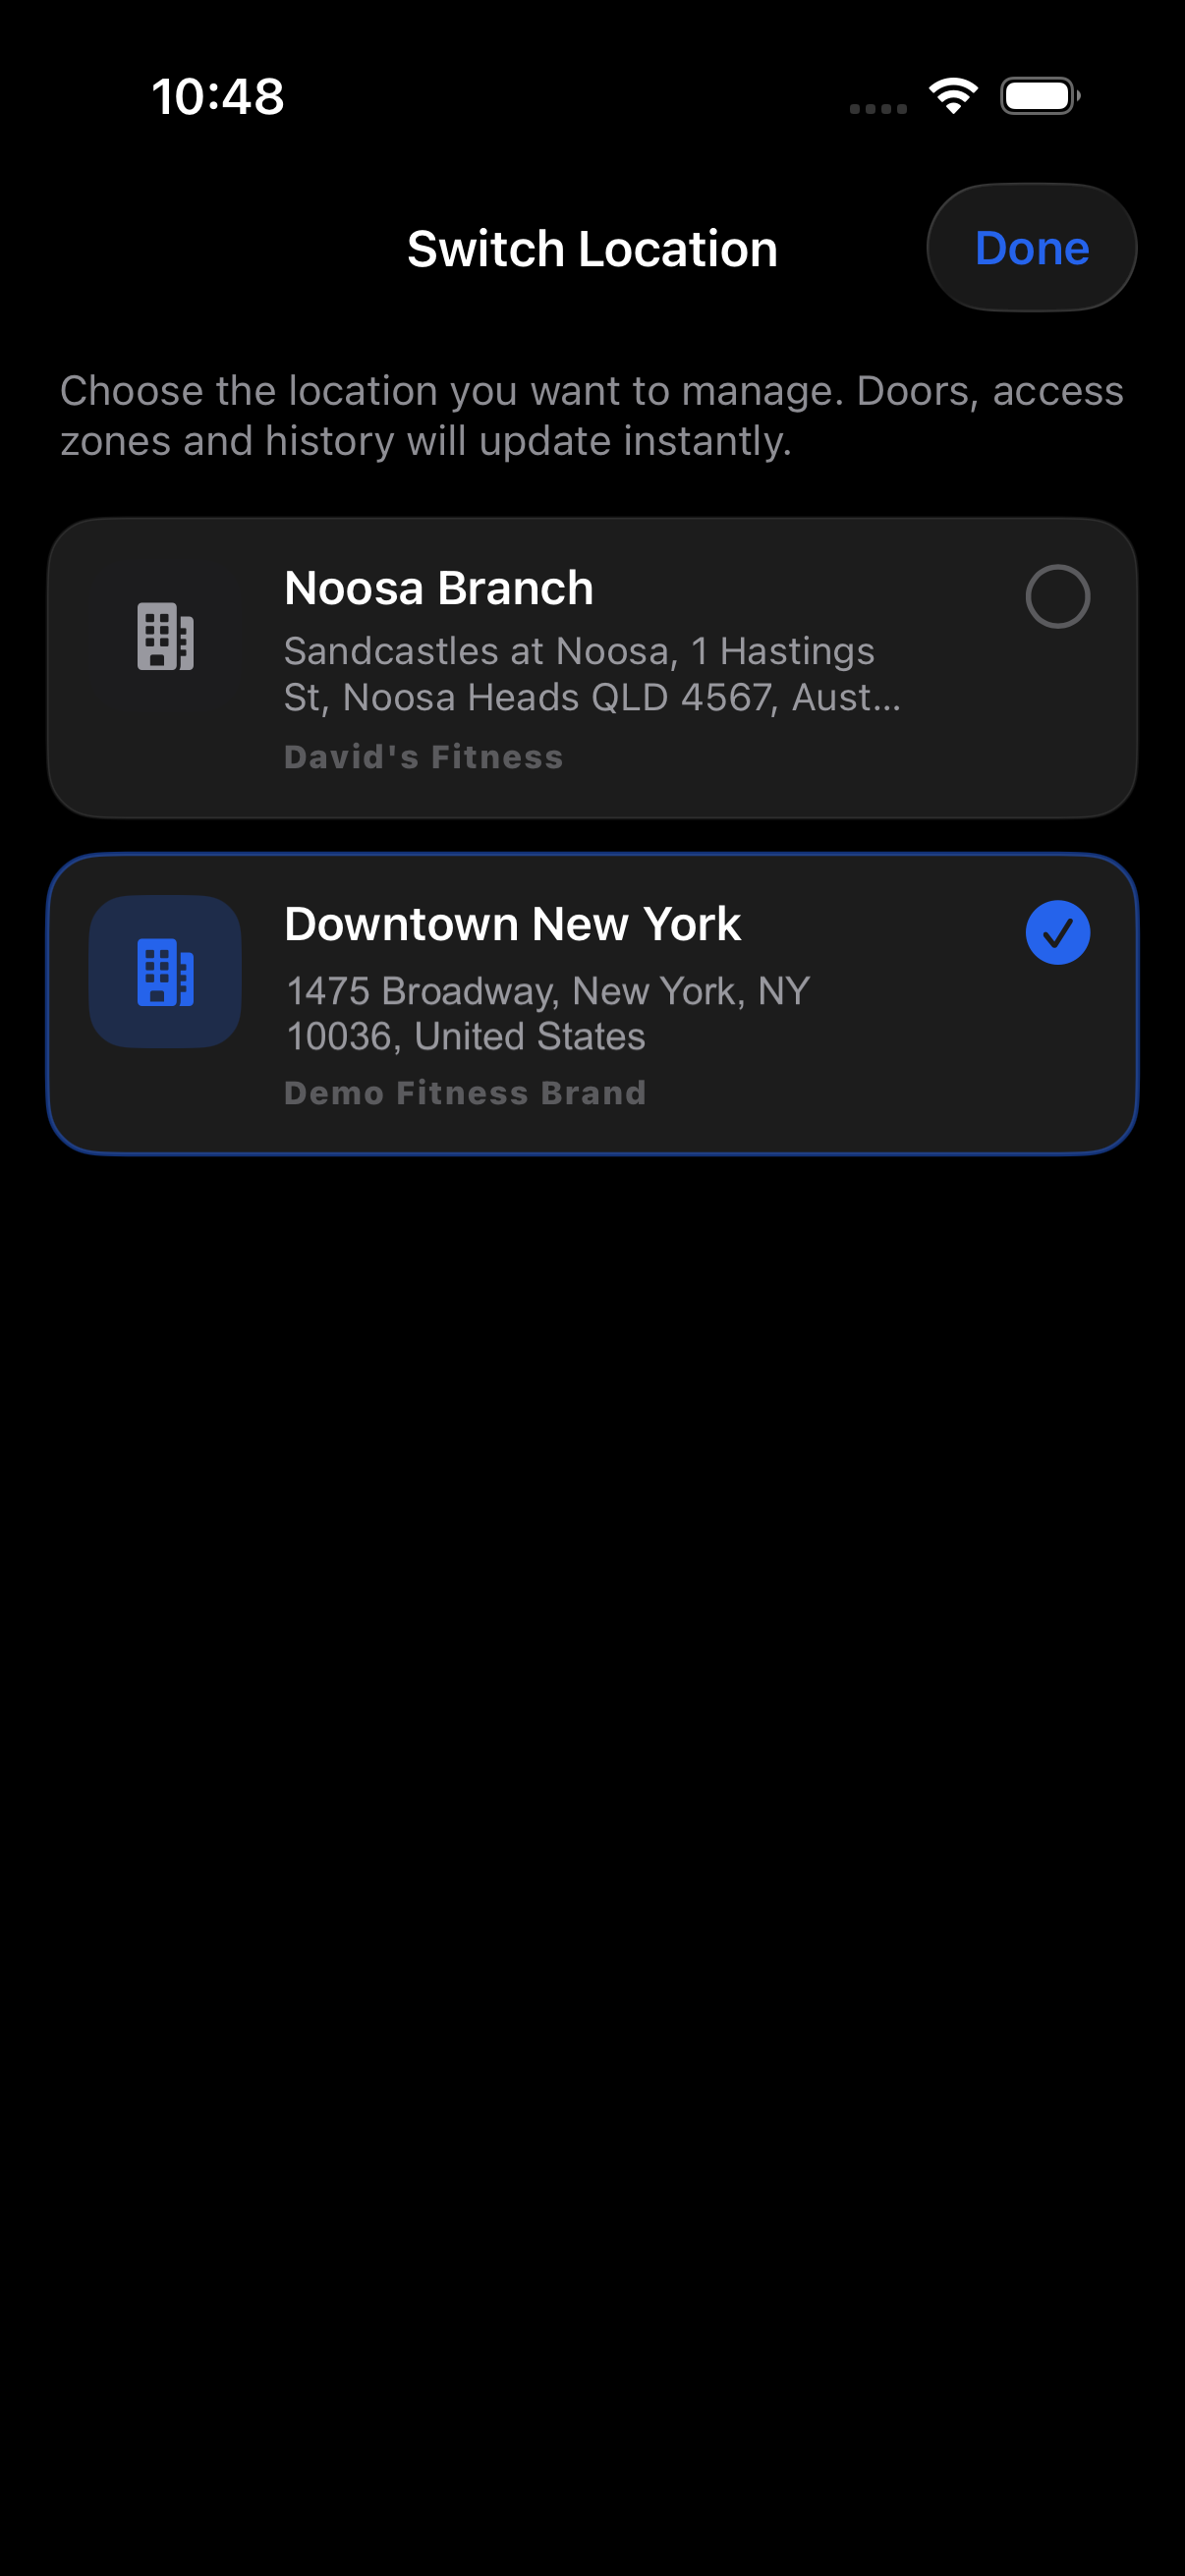
Choosing a location
Members linked to more than one facility can switch via the facility name at the top of the dashboard. The Switch Location sheet lists every facility their phone/email is linked to; doors, access zones, and history update instantly when they pick one. An optional Auto-switch to nearest location setting (in Profile) switches automatically when within 250 m of a linked facility.
The Doors & Gates dashboard
The dashboard lists every door the member can see at the selected facility, grouped by the door location label set in the admin portal. A large primary door card sits at the top — members can pin their favourite with the star. Support contacts (call or email the location) appear beneath the doors according to the App Security setting.
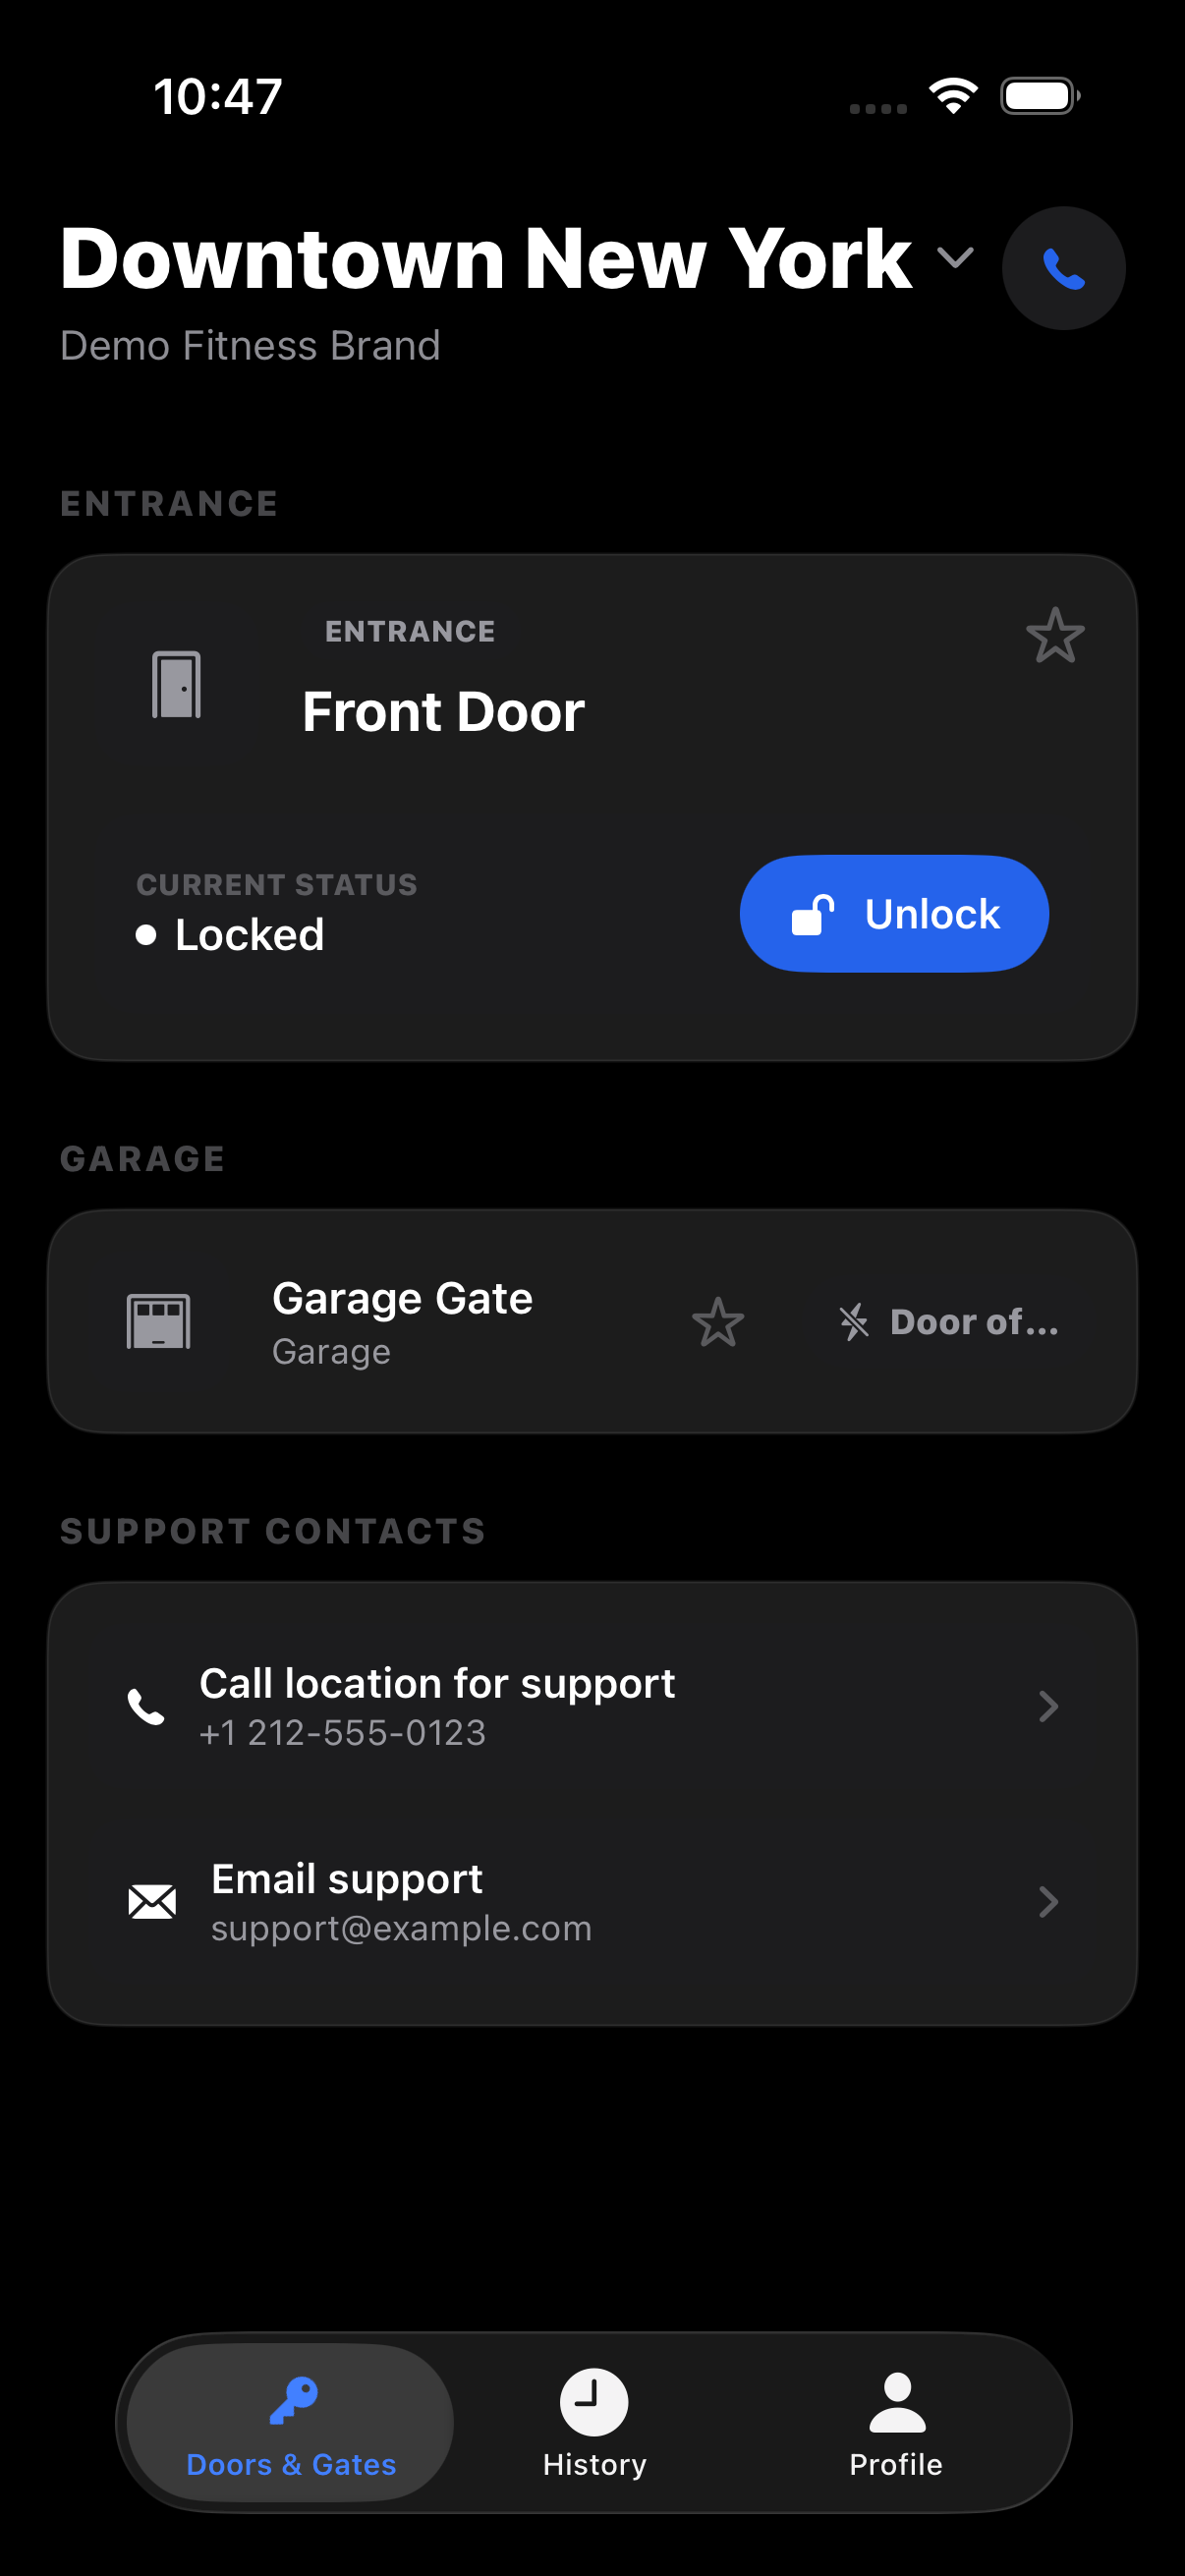
Each door shows the icon chosen by the admin, its name, and a live status pill — the full list of pills is in The Mobile App.
Geofencing — "Move closer to open"
When a door is geofenced and the member is outside the geofence, the unlock button is replaced with Move closer to open, and a distance badge shows how far away they are. The geofence is enforced again server-side on every unlock — see Geofencing.

Unlocking a door
Tapping Unlock sends the request to the server, which makes the full access decision. On success the door's status flips to Unlocked and a Re-locking countdown shows the door's remaining hold time before it locks again.

Every attempt — allowed or denied — appears in the admin Access Logs with the reason.
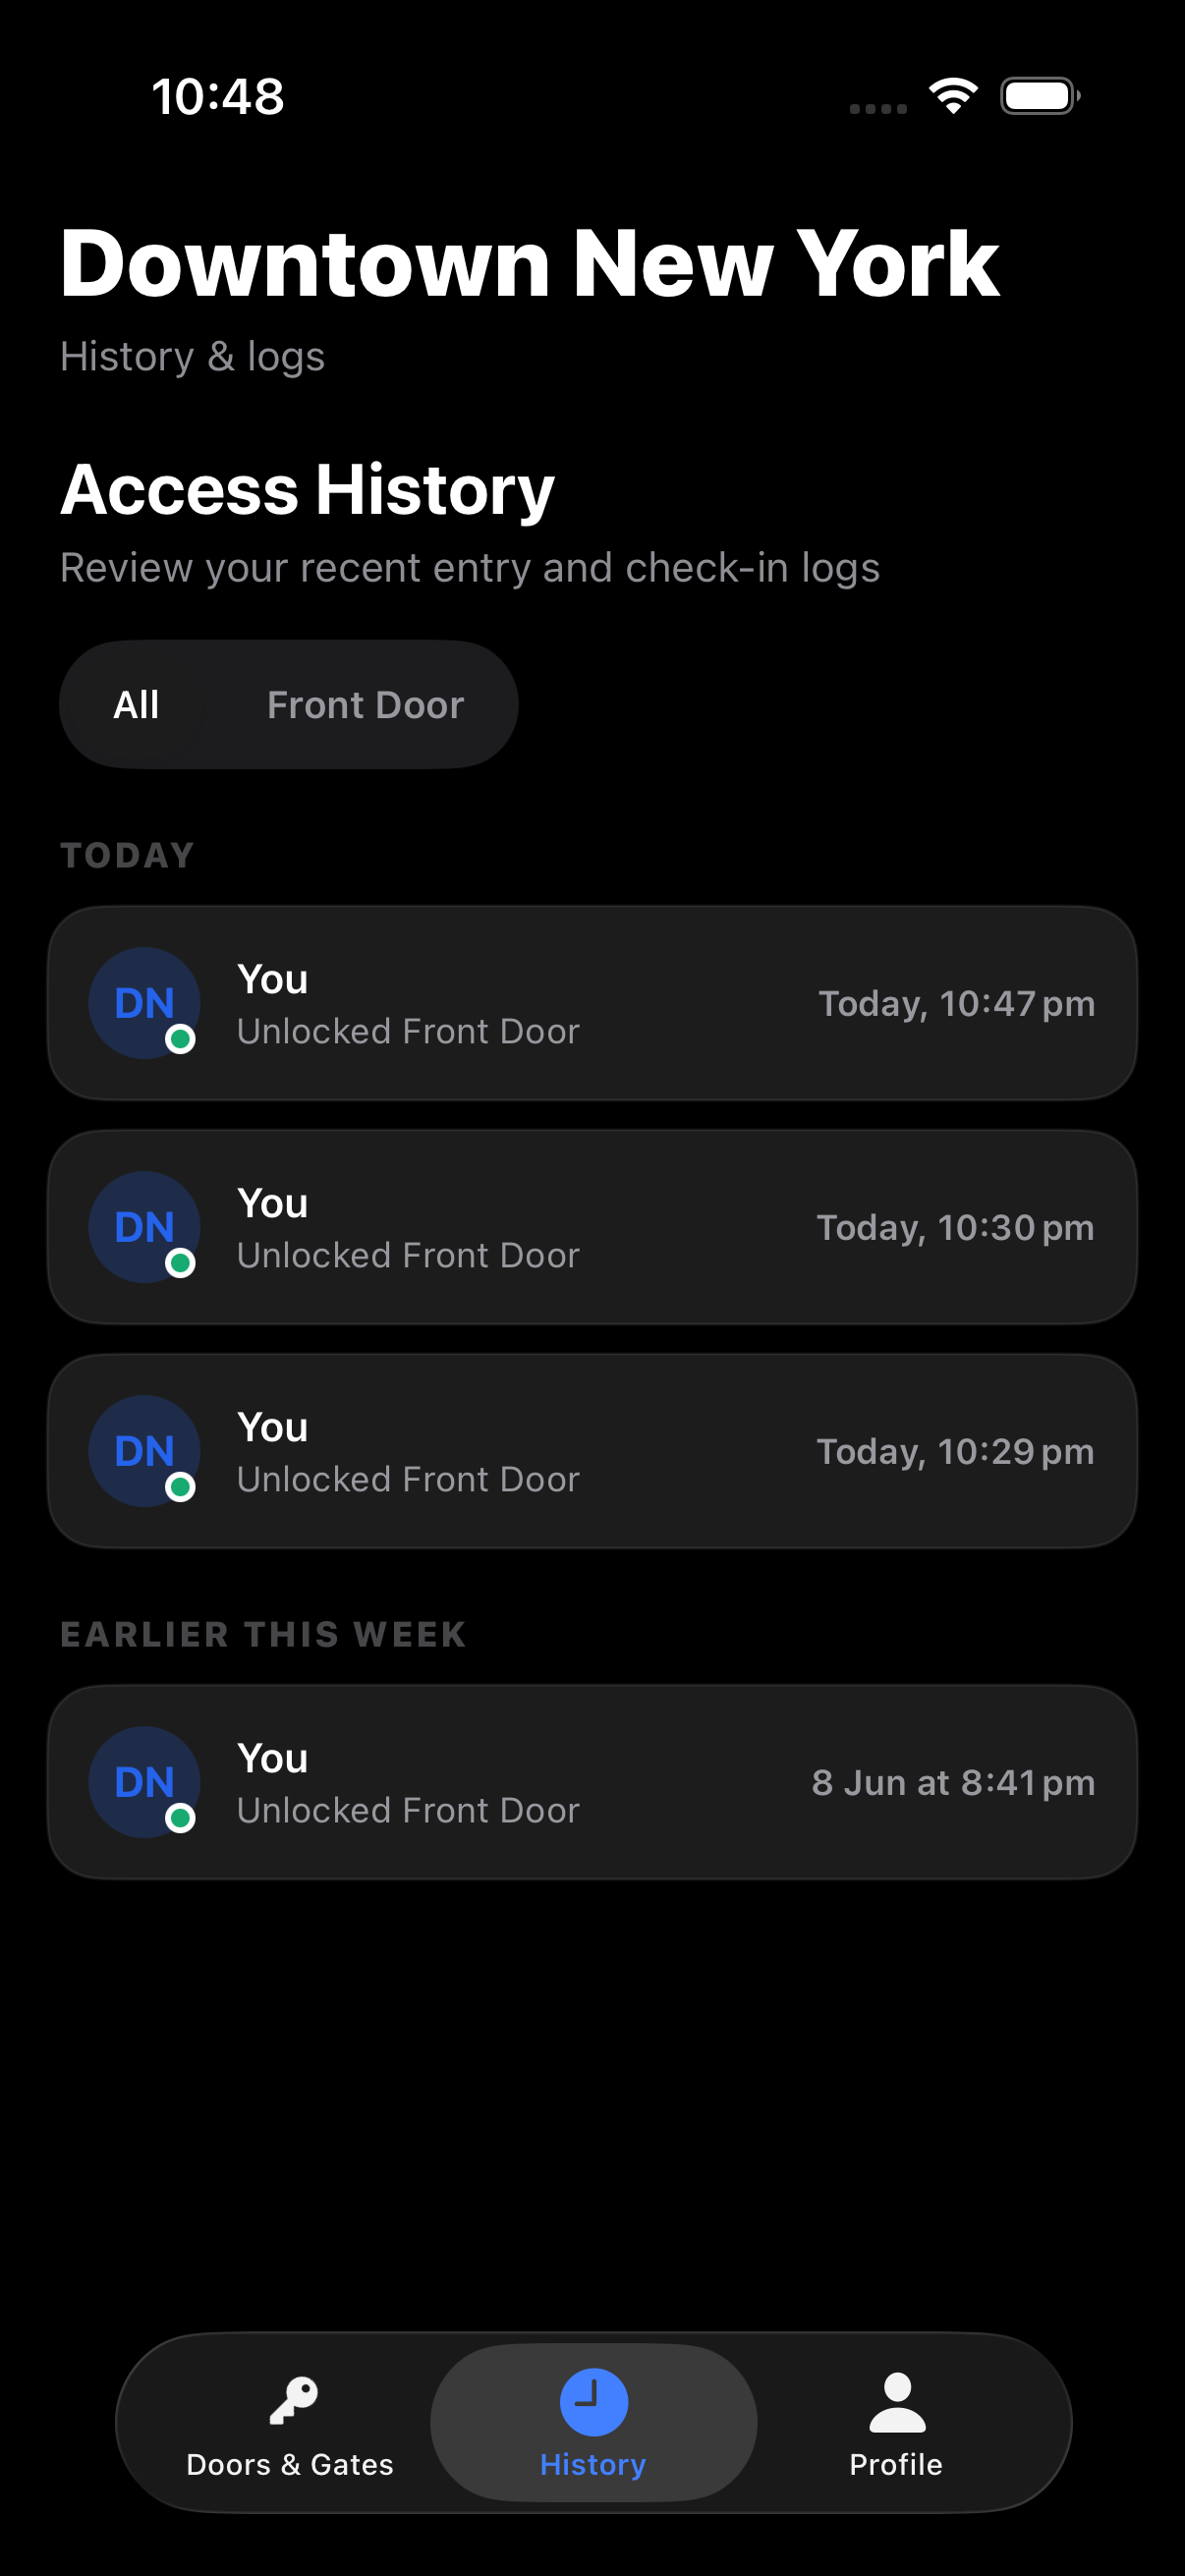
Access history
The History tab shows the member's own entry and check-in activity at the selected facility, grouped by day and filterable per door. Tapping an entry opens an Access Details sheet with the date, time, door, device, IP, and a map of the unlock location.
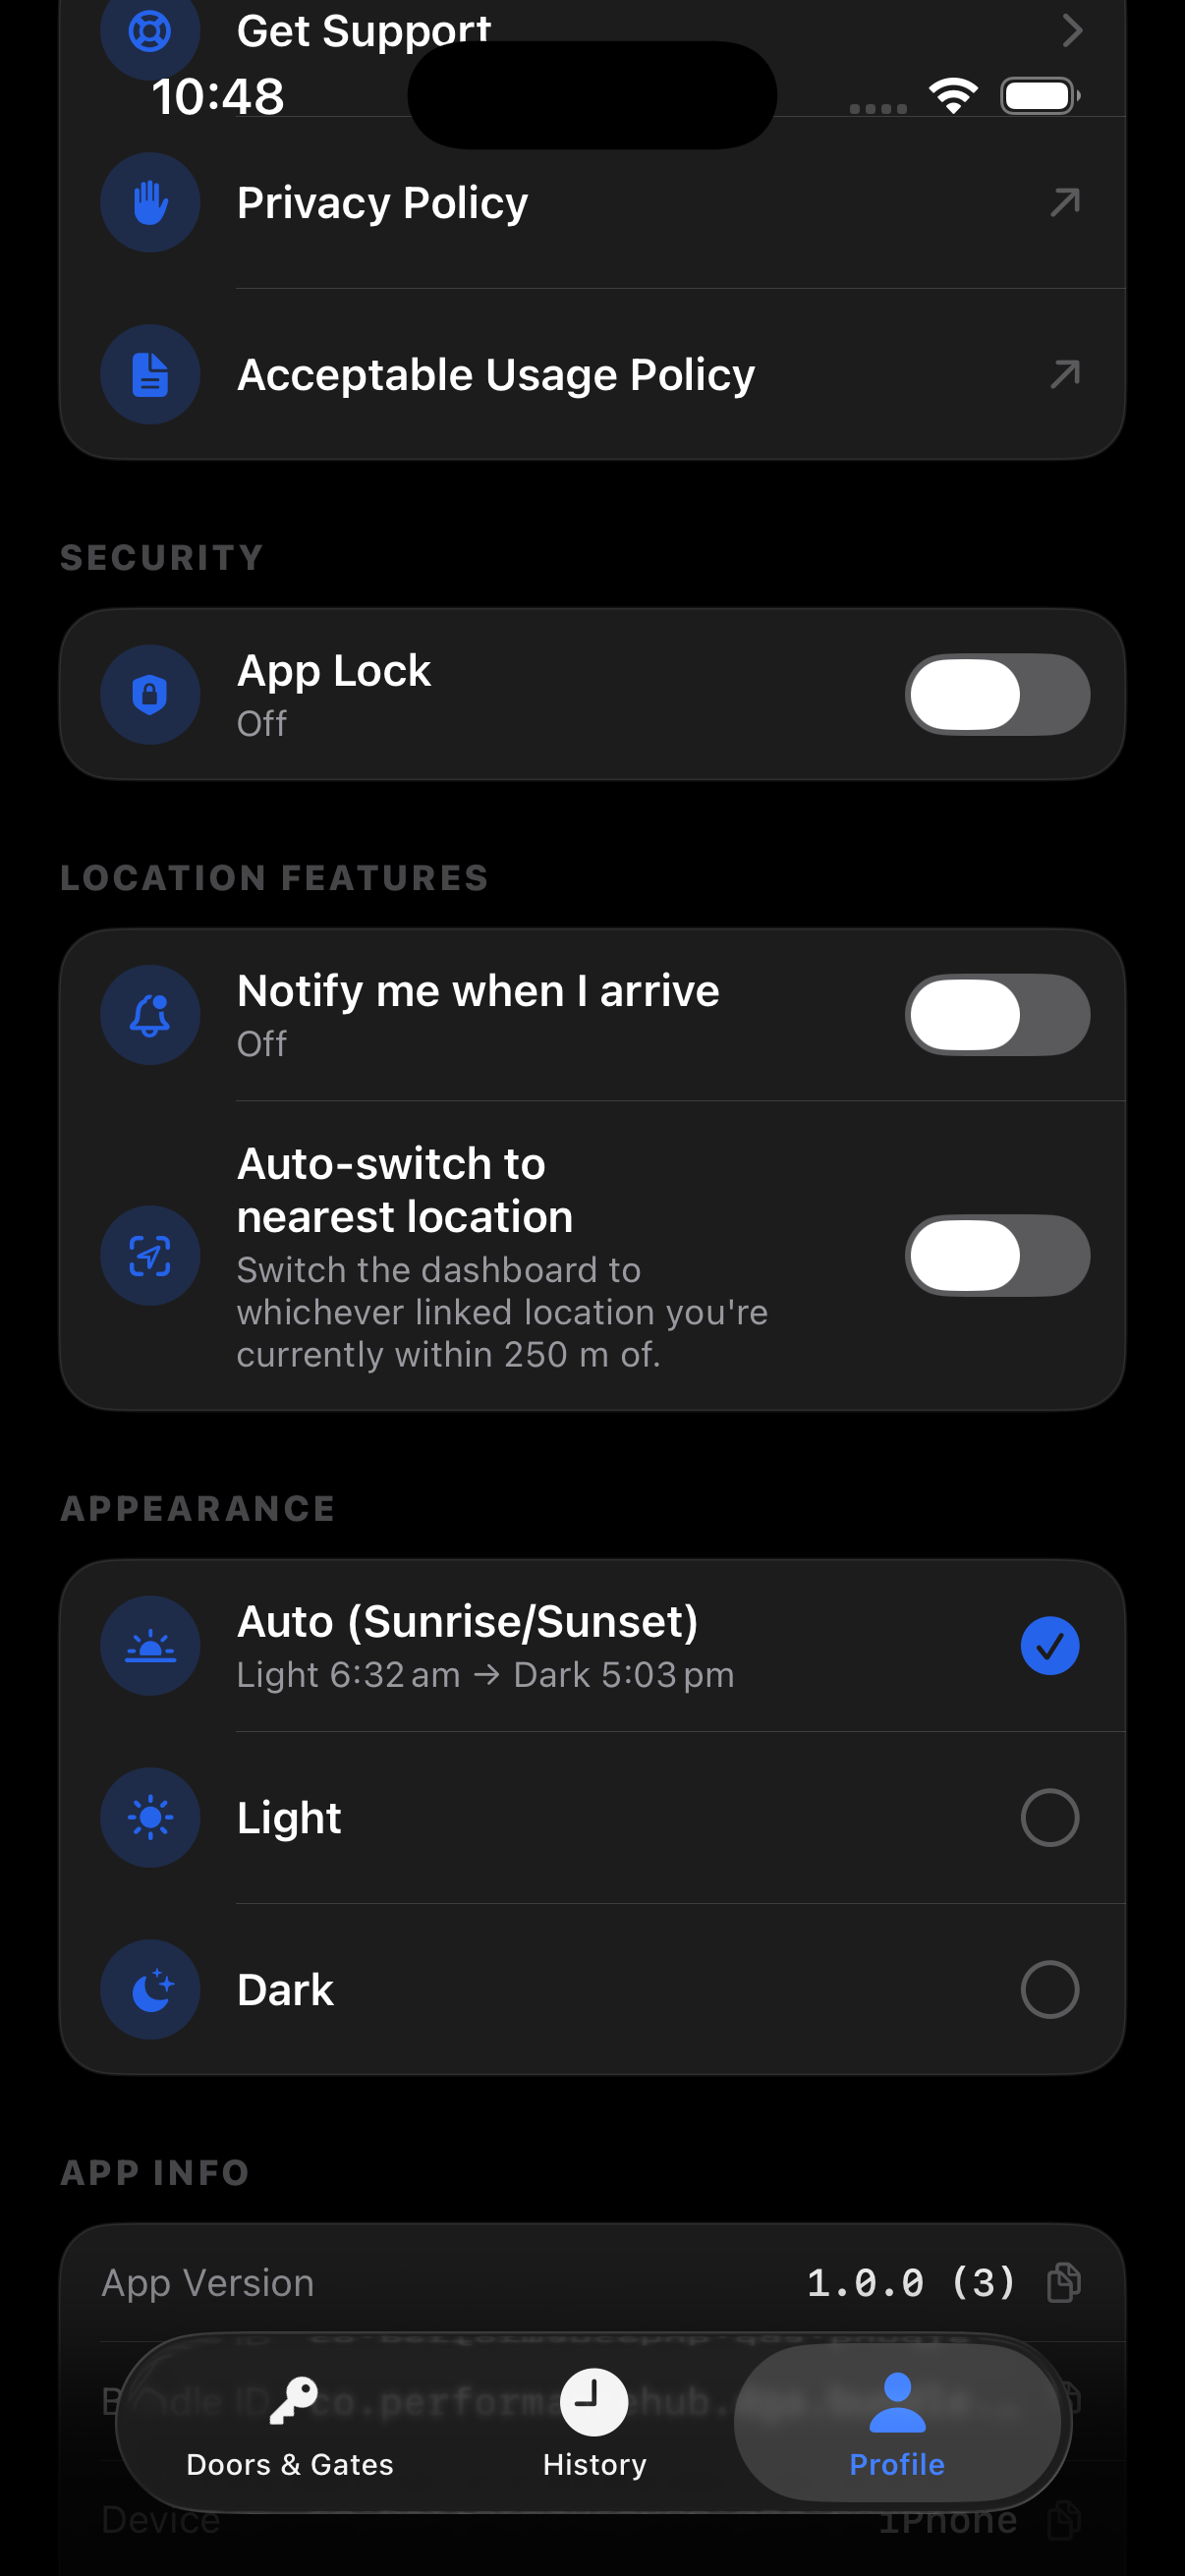
Profile & settings
The Profile tab contains support and policy links plus the member's personal settings:
- App Lock — Face ID / fingerprint / PIN protection (may be enforced facility-wide via App Security)
- Notify me when I arrive — arrival notifications when reaching the facility
- Auto-switch to nearest location — for members linked to multiple facilities
- Appearance — Auto (sunrise/sunset), Light, or Dark
Beyond the phone
- Apple Watch & Wear OS — unlock from the wrist
- CarPlay — unlock gates and garages from the car screen
- Home Screen widget and Control Center control (iOS) — one-tap unlock of the primary door
Related pages
- The Mobile App — full member-experience reference
- Geofencing
- App Security & Settings
- Troubleshooting