
Session mode and Bot mode
On this page
To install Performance Hub Agent, see Desktop app (Mac and Windows) or Install on Linux.
Performance Hub Agent has two modes, which change how the app opens and how you work with your Agent. You choose one the first time you connect, on the Where should the app open? welcome screen: "Pick the one you'll use most. You can switch between them at any time." Bot mode is marked Recommended.
| Mode | What the app says |
|---|---|
| Session mode | "A fresh chat for every task, like the Performance Hub web app." |
| Bot mode | "Talk to your Agent's bots like teammates." |
Switch modes
- Click the mode menu at the top of the sidebar ("Switch between Session mode and Bot mode"). It shows the mode you're in, for example Session mode.
- Choose a mode:
- "Session mode – A fresh chat for every task, like the Performance Hub web app."
- "Bot mode – Talk to your Agent's bots like teammates."
To switch from the keyboard, press ⌘⌥B on a Mac or Ctrl+Alt+B on Windows and Linux. You can change the shortcut in Settings > Keyboard Shortcuts.
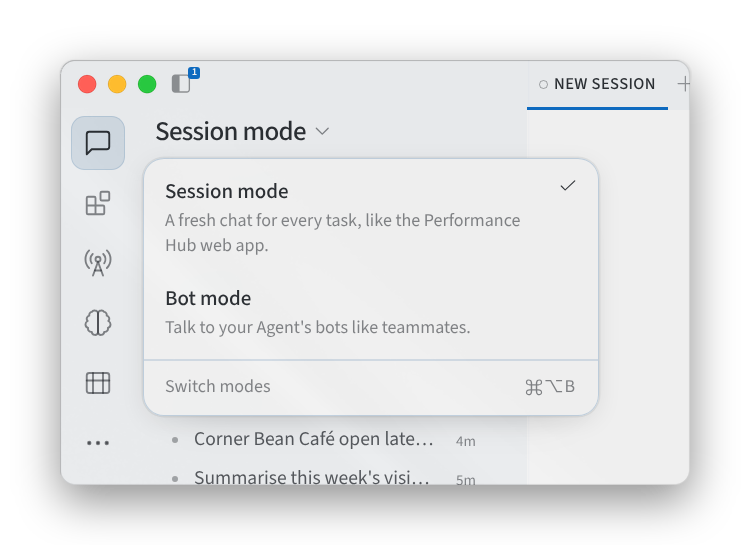
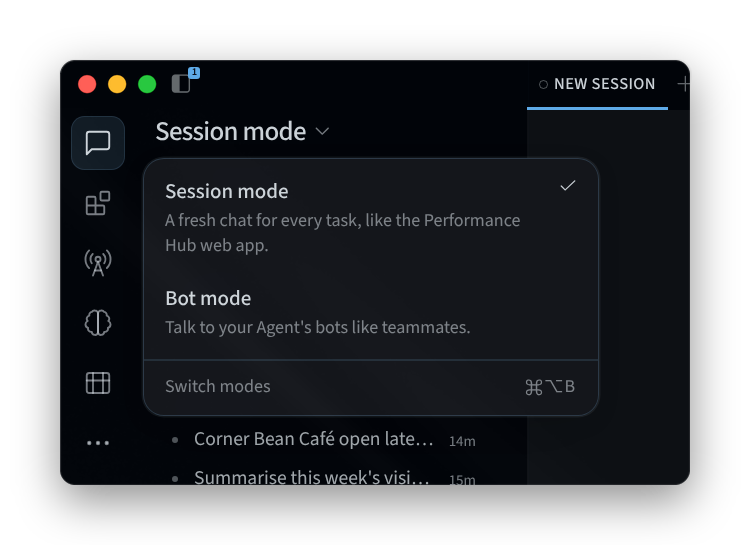
Figure 1: Switching between Session mode and Bot mode
Session mode
In Session mode, each task gets a fresh chat, as in your agent in Performance Hub. Your sessions are listed in the session sidebar, where you can search, pin and start them. See Getting around.
Session mode suits one-off tasks, for example drafting a notice for a clinic's waiting room, checking a shop's stock list or planning a venue's event night.
Bot mode
In Bot mode, you talk to your Agent's bots like teammates, rather than starting a new chat for each task. Each bot is a named teammate with its own memory, skills and chat, for example a Bookings Assistant for a dental clinic or a Stock Checker for a retail store.
Your bots are listed under BOTS in the sidebar. To find one, use Search bots and group chats…. Click a bot to open its chat.
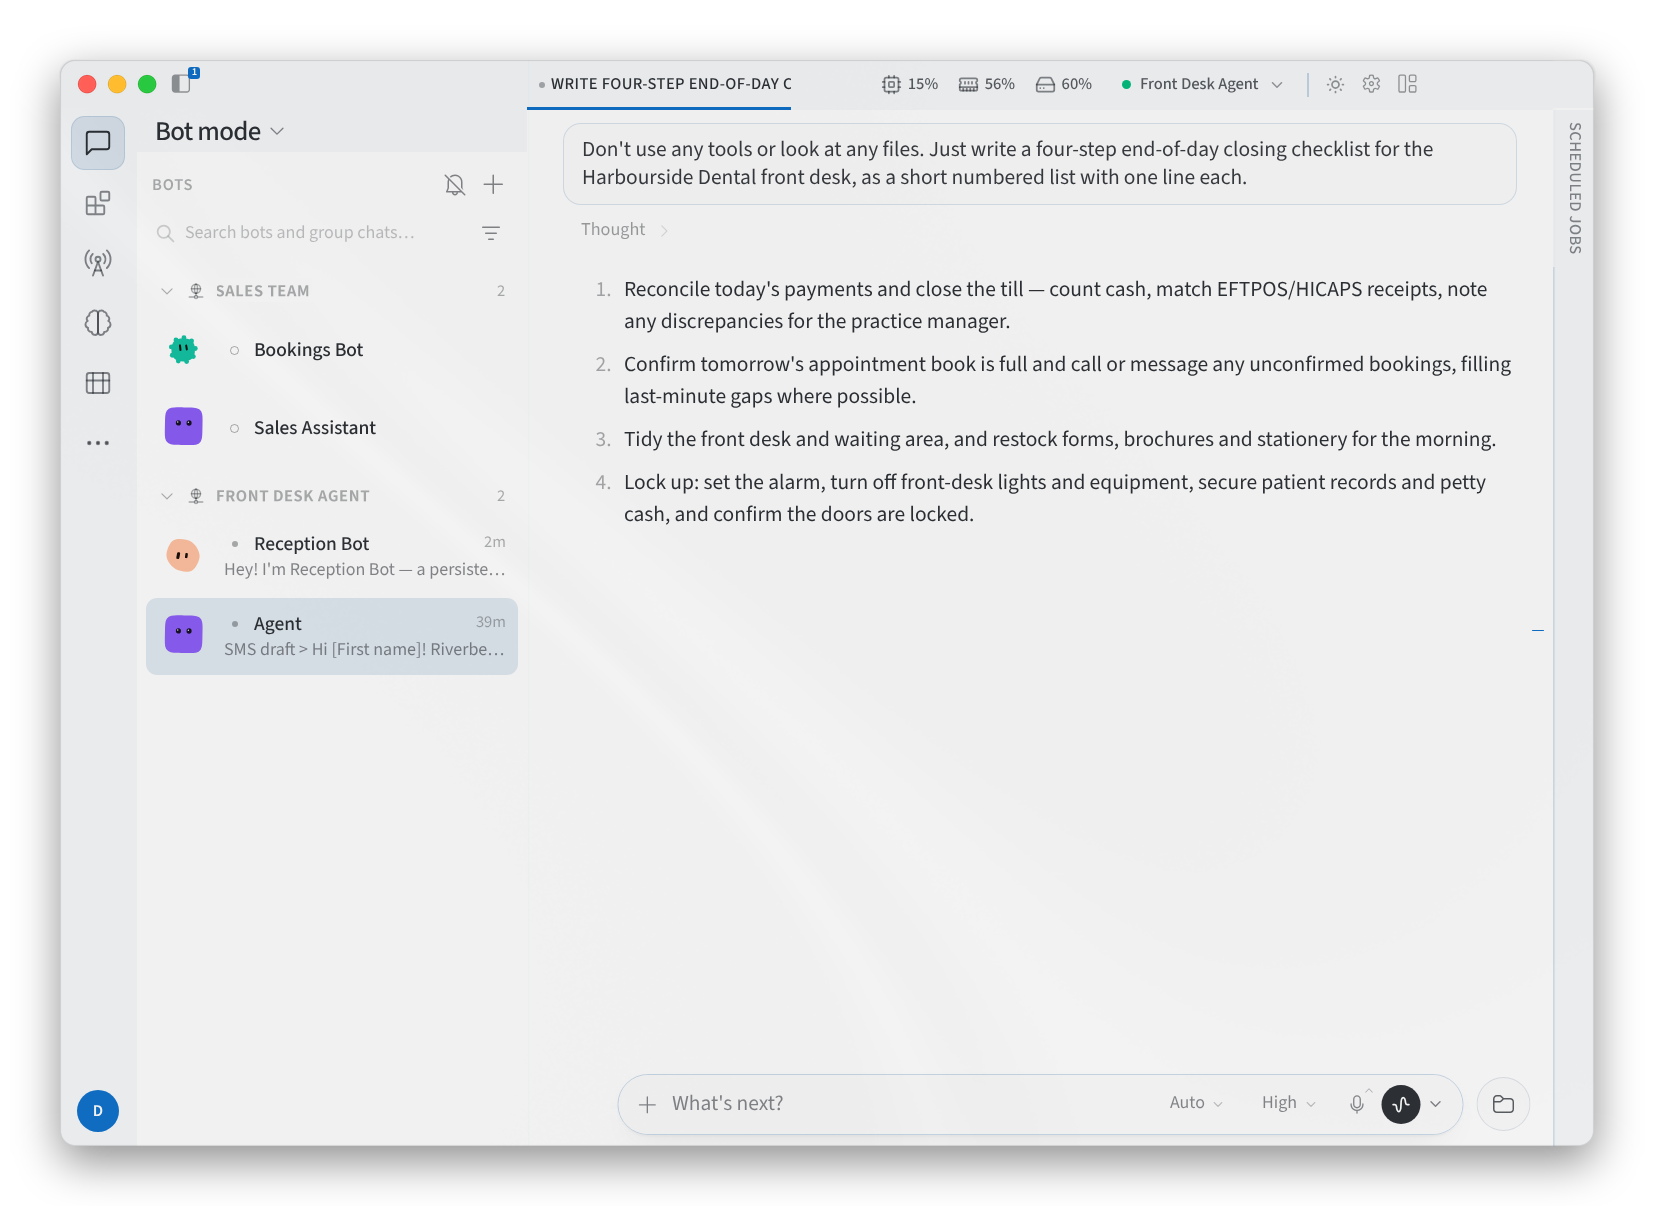
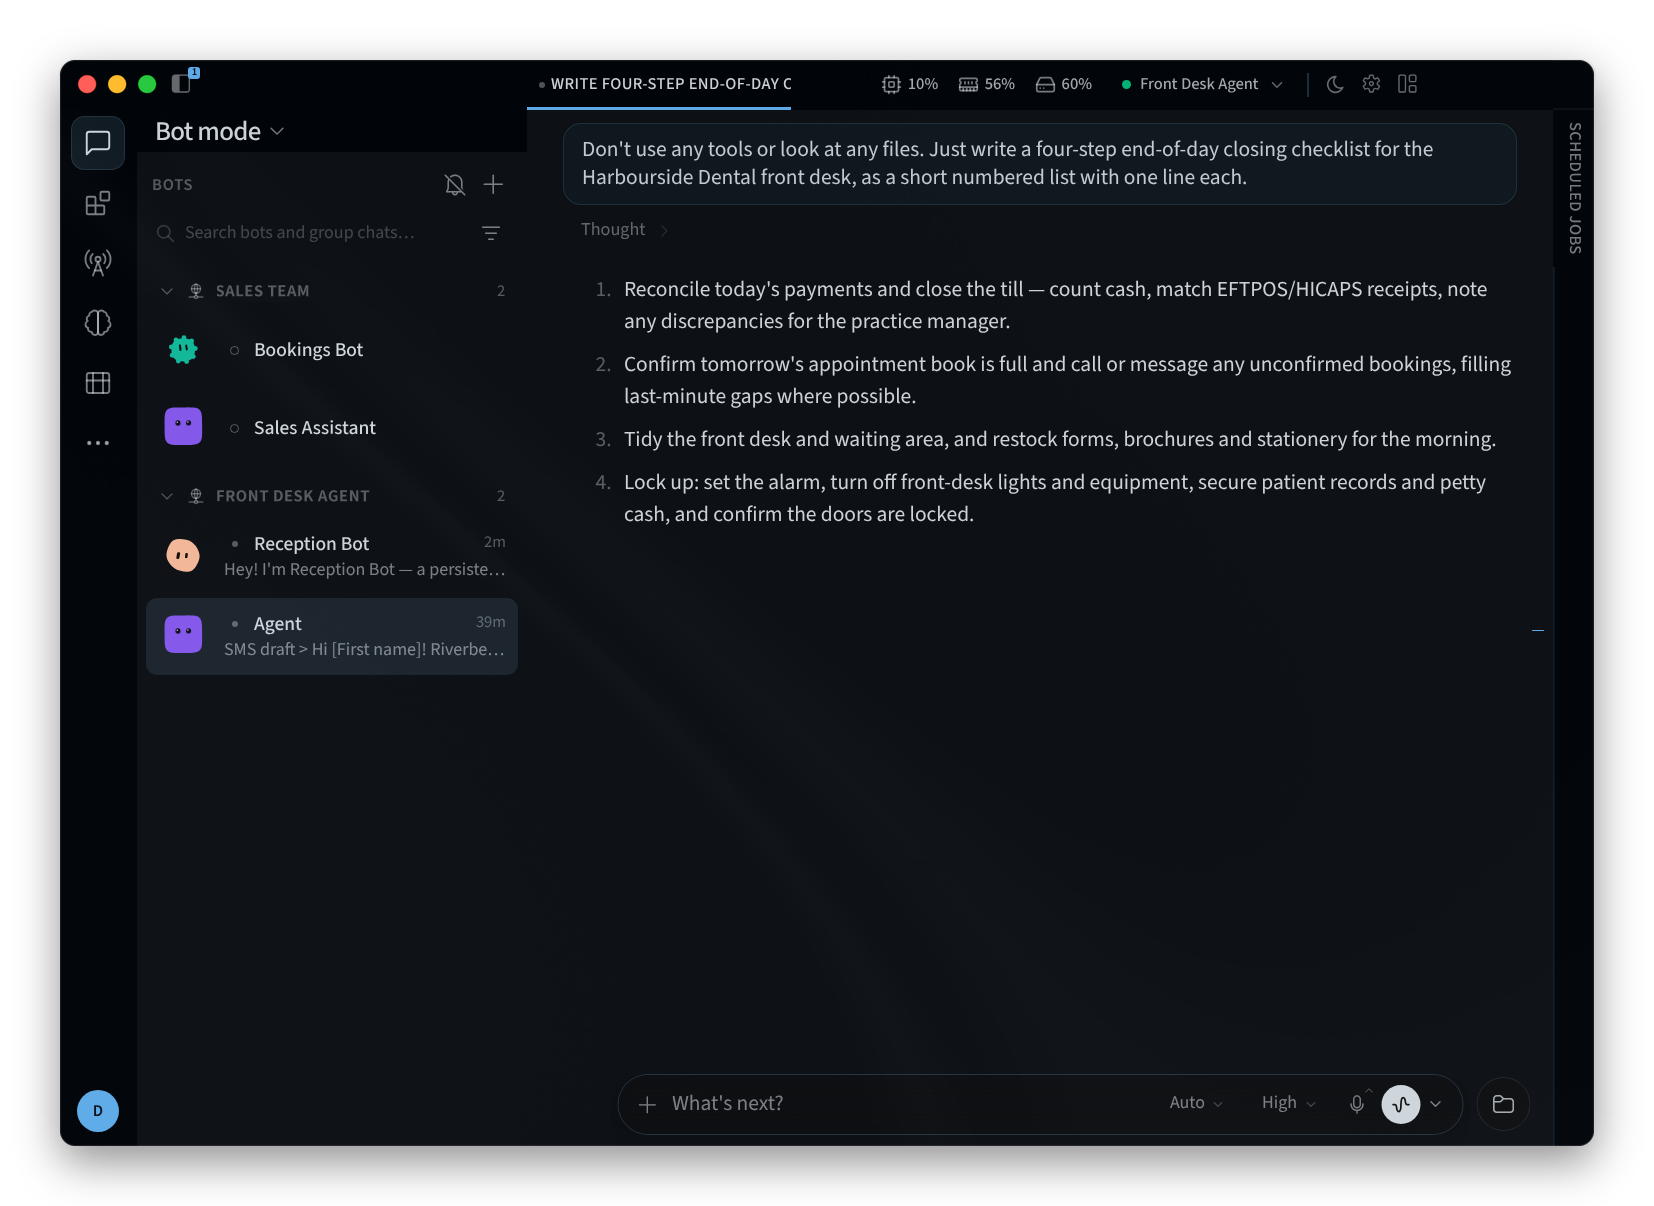
Figure 2: Bot mode
The + menu at the top of the BOTS list has New bot, New group chat and New section.
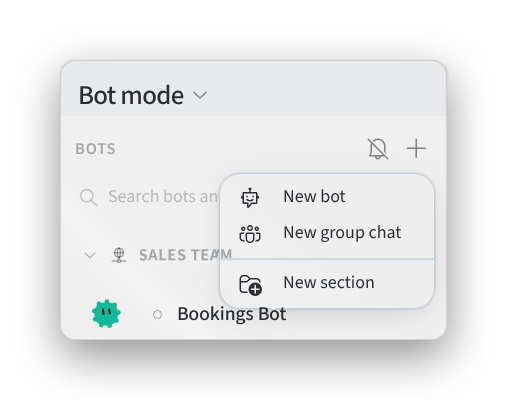
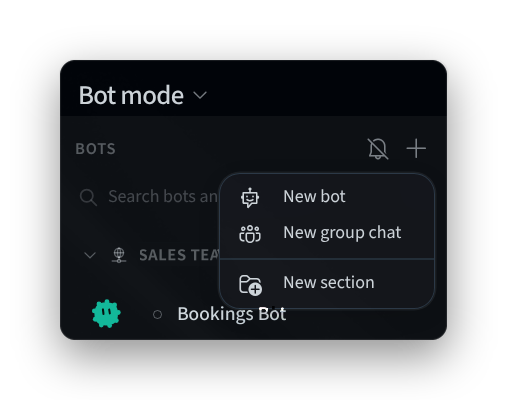
Figure 3: The + menu in the Bots sidebar
Create a bot
- In the BOTS list, click +, then New bot. The New bot dialog says "A named teammate with its own memory, skills, and chat. It can message your other agents."
- Enter a Name, for example "Bookings Assistant" or "Stock Checker".
- Choose the bot's face, or leave it on Auto: "Face follows the name." Randomize picks another face, and Lock face keeps the one you have.
- Create on shows the agent you're using, where the bot is created.
- Add a Title and a Description of the bot's role, for example "Front desk" and "Answers booking questions and confirms appointments". Advanced has further options.
- Click Create Bot, or Cancel to close the dialog without creating it.
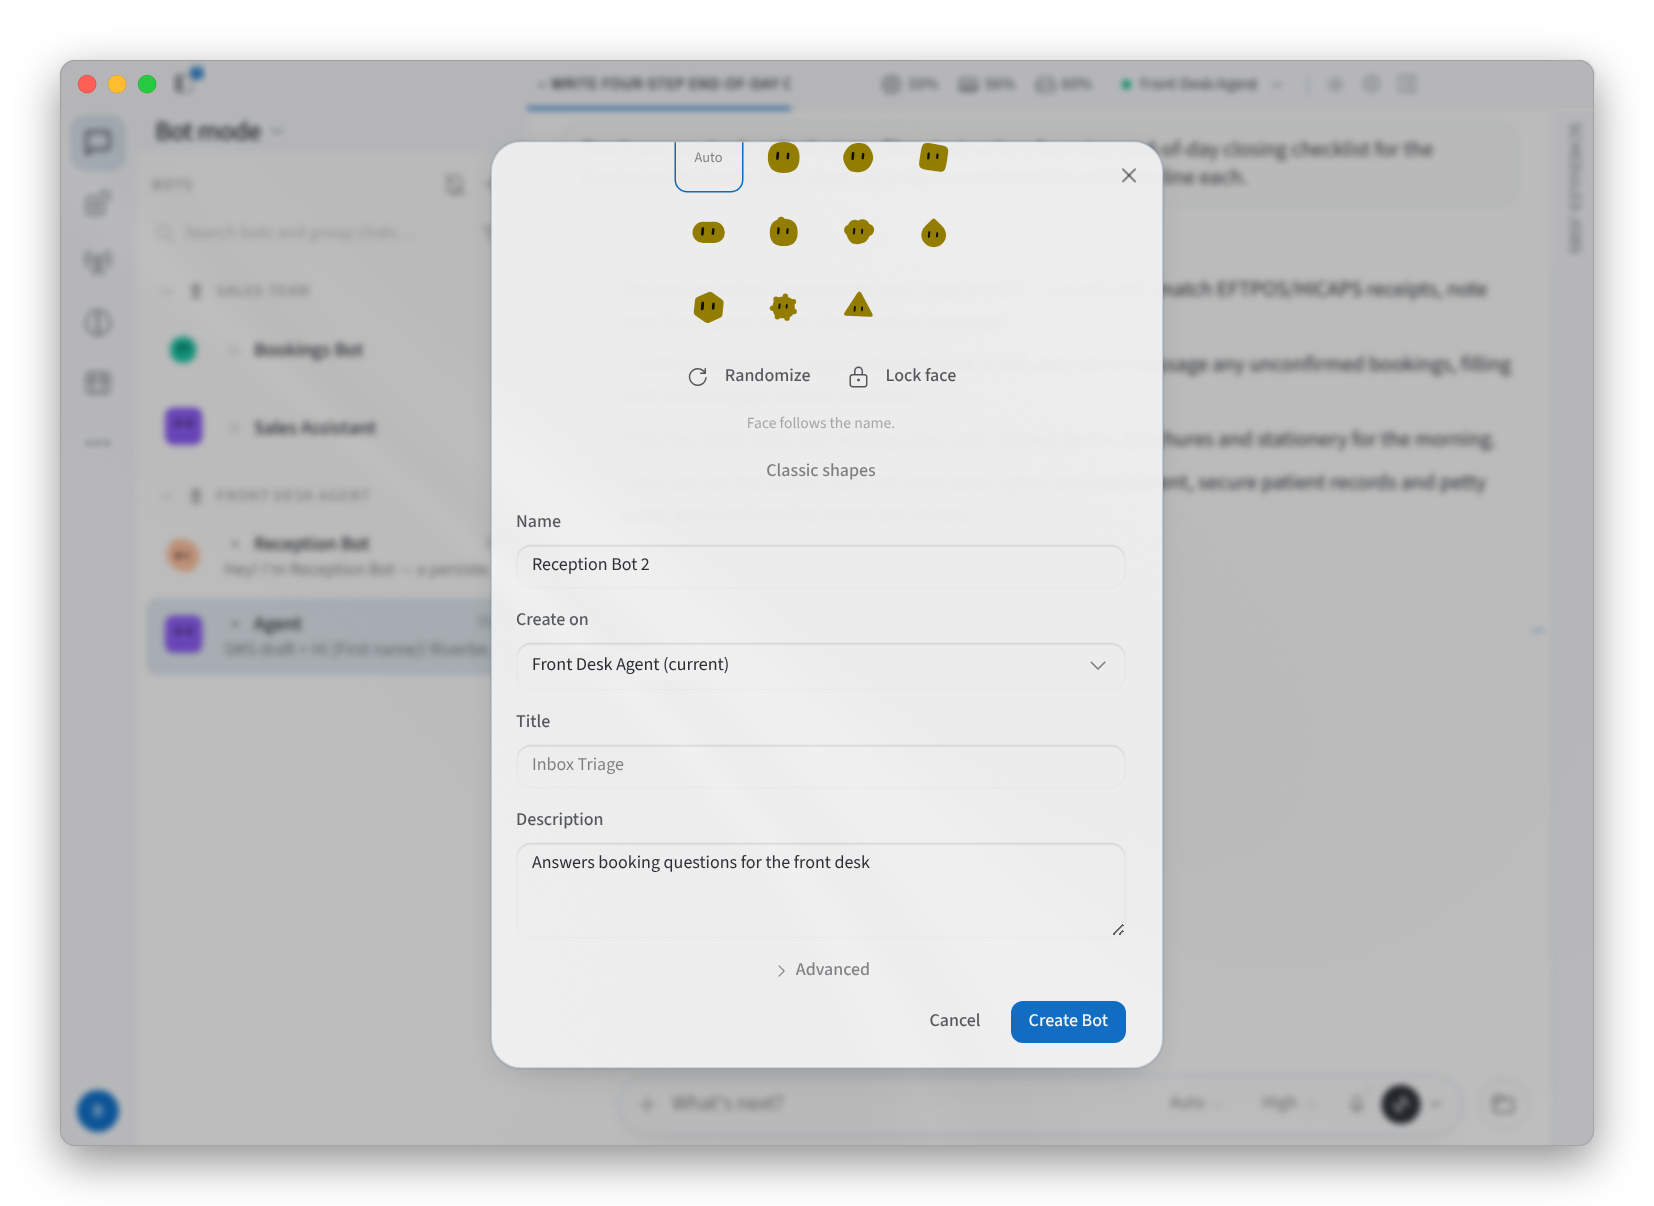
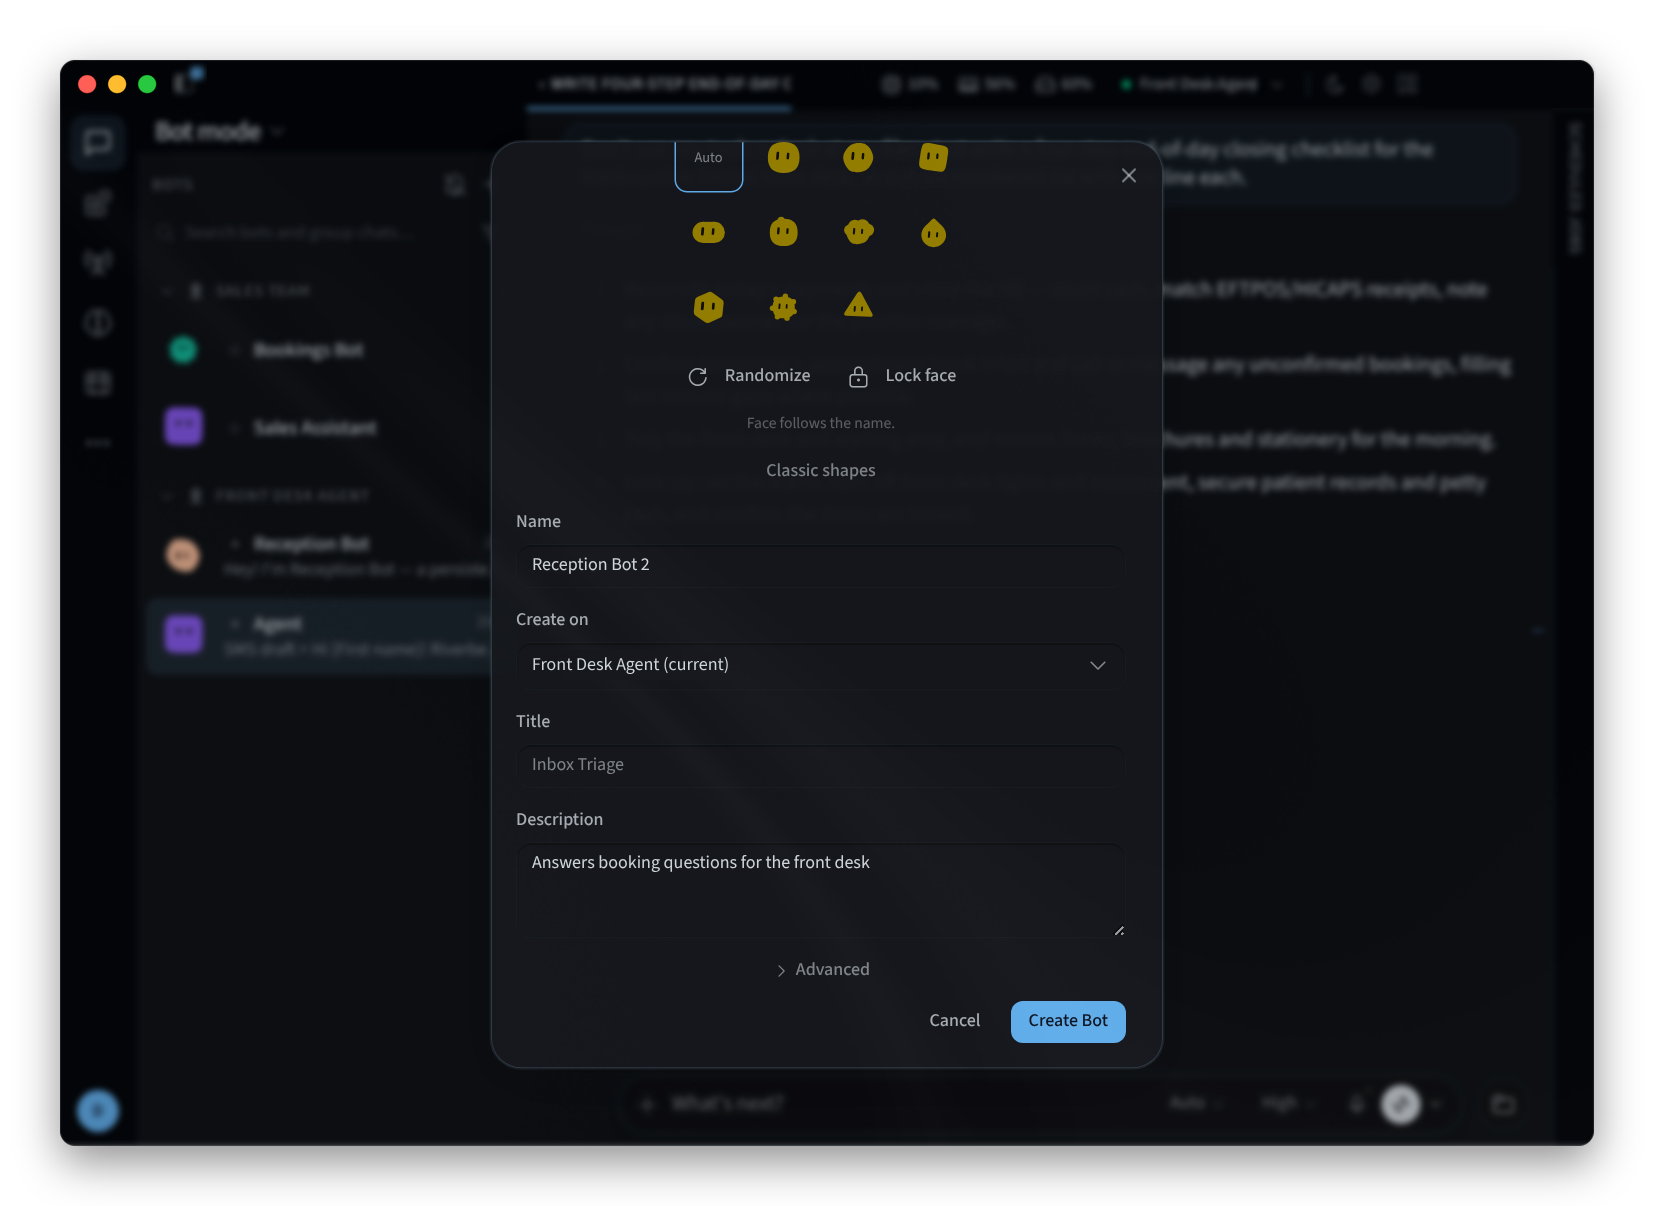
Figure 4: Creating a bot
Create a group chat
A group chat lets you talk to several bots at once.
- In the BOTS list, click +, then New group chat. The dialog says "Pick 2–6 bots."
- Type in Search bots to add… and tick the bots you want. Each bot you choose is shown as a chip above the list.
- Click Upload to add a picture for the group, and enter a name for it, for example "Clinic front desk" or "Store team".
- Click Create Group (N), where N is the number of bots you chose, or Cancel.
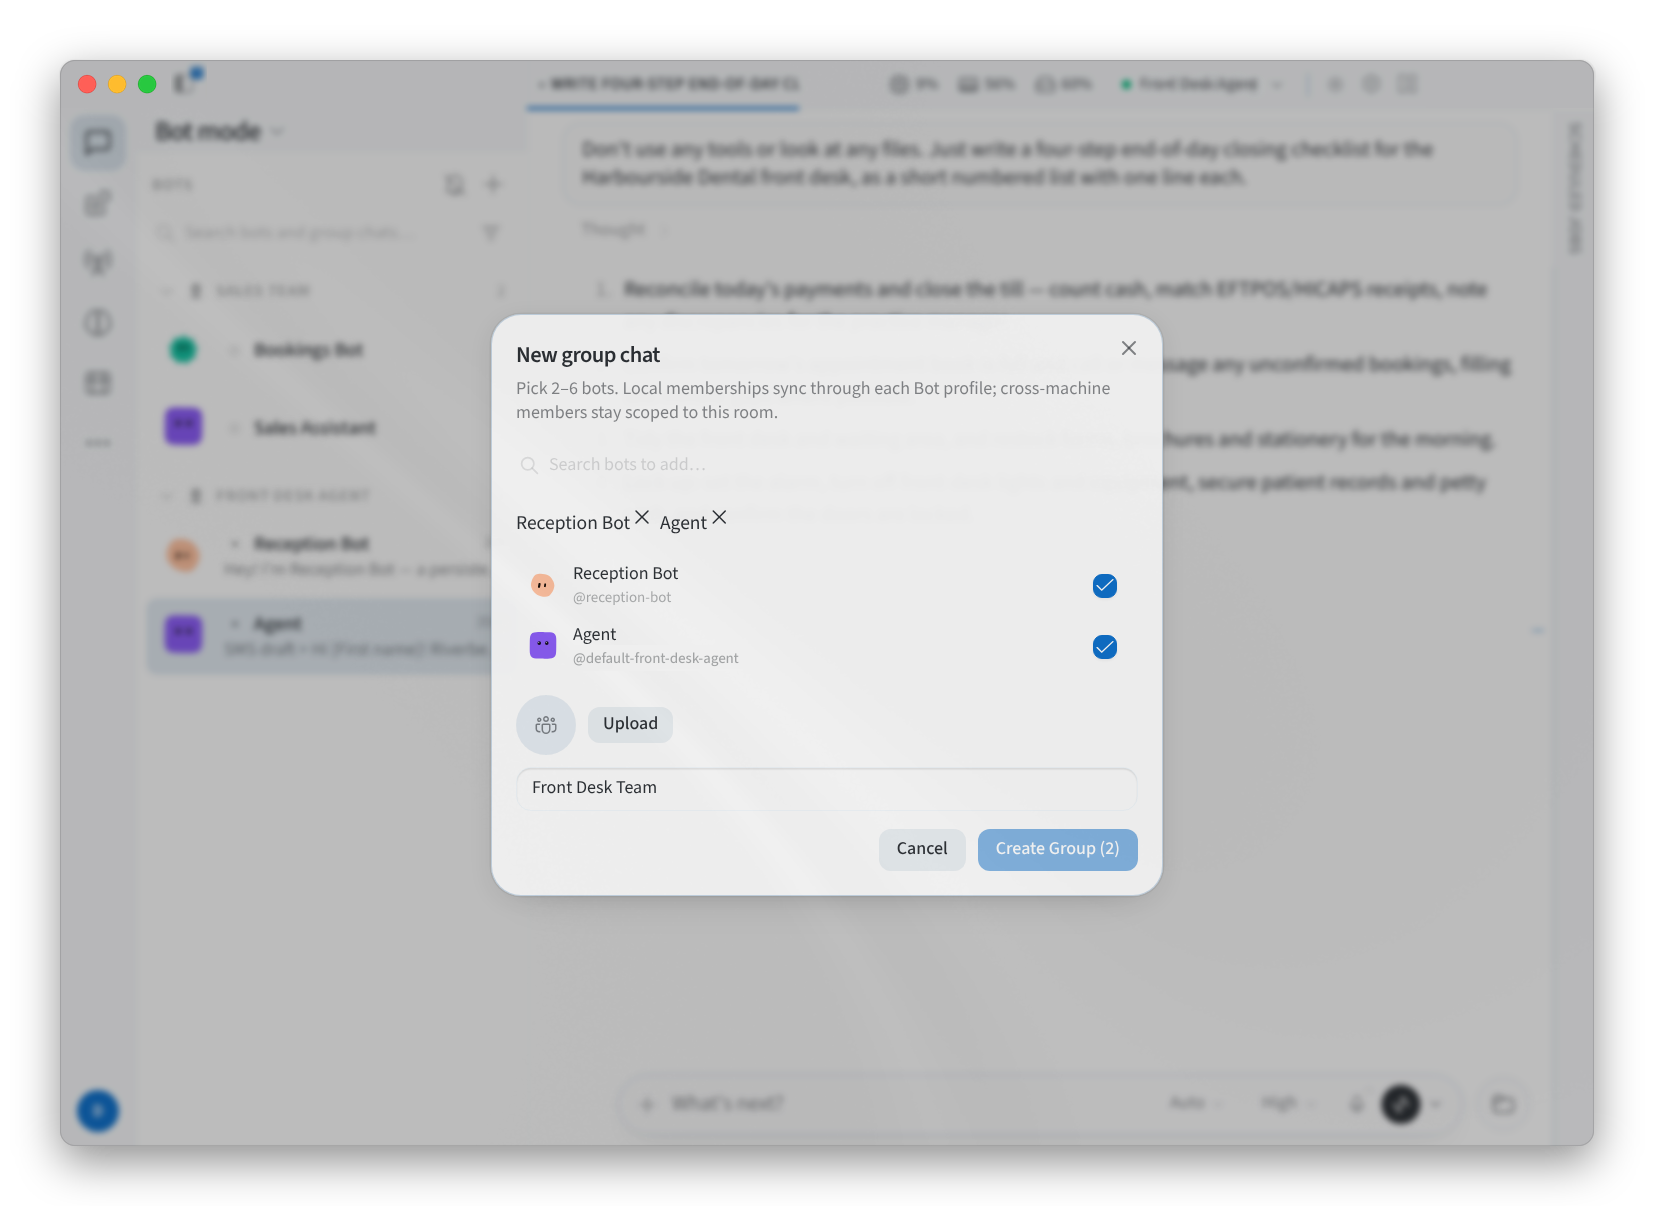
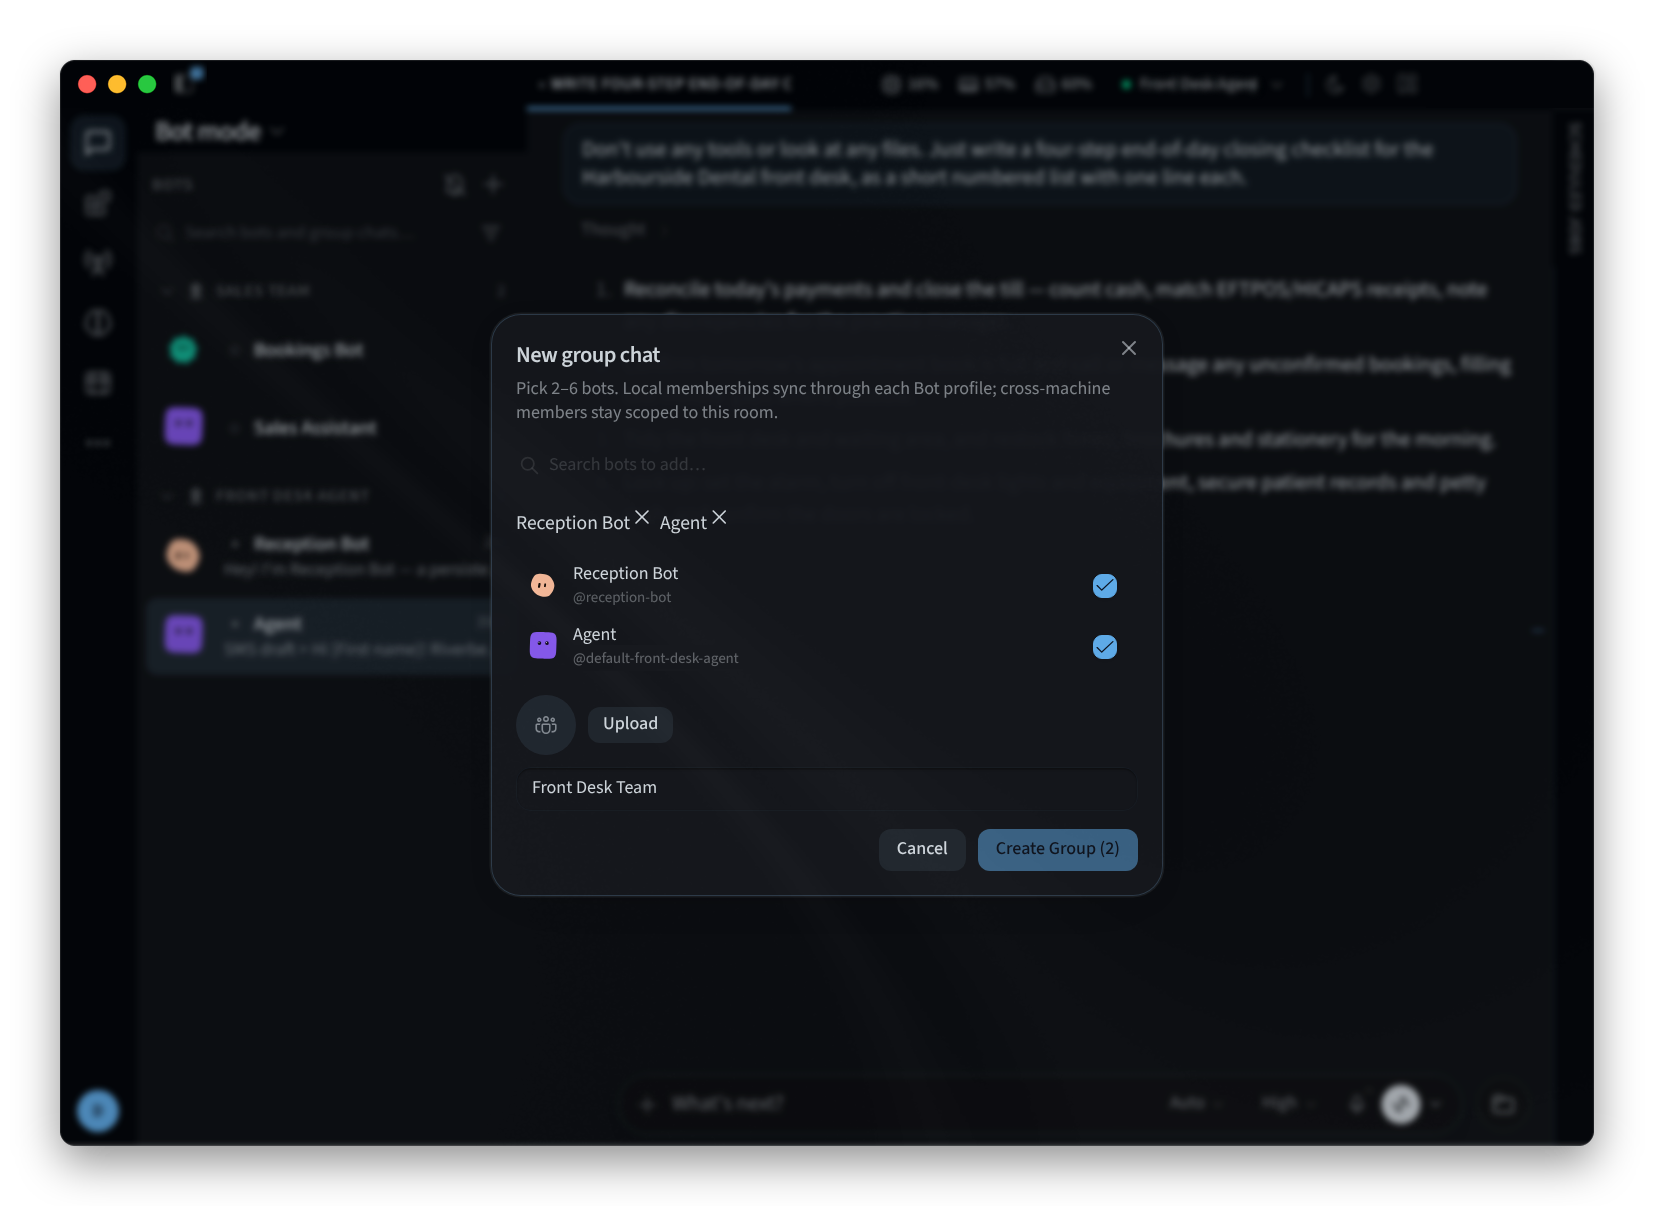
Figure 5: Creating a group chat
Edit or manage a bot
Right-click a bot in the BOTS list to open its menu:
- Open Bot Chat
- Pin to top
- Hide
- Edit…
- Manage groups…
- Duplicate
- New chat with this bot
- Open recent session
- Move to section
- Delete
Edit… opens Edit profile, with the bot's "Appearance and role":
- The Bot, Upload and Pet tabs set how the bot looks. On Bot, choose a face or Auto, and use Randomize and Lock face as when you create a bot.
- Title and Description set the bot's role.
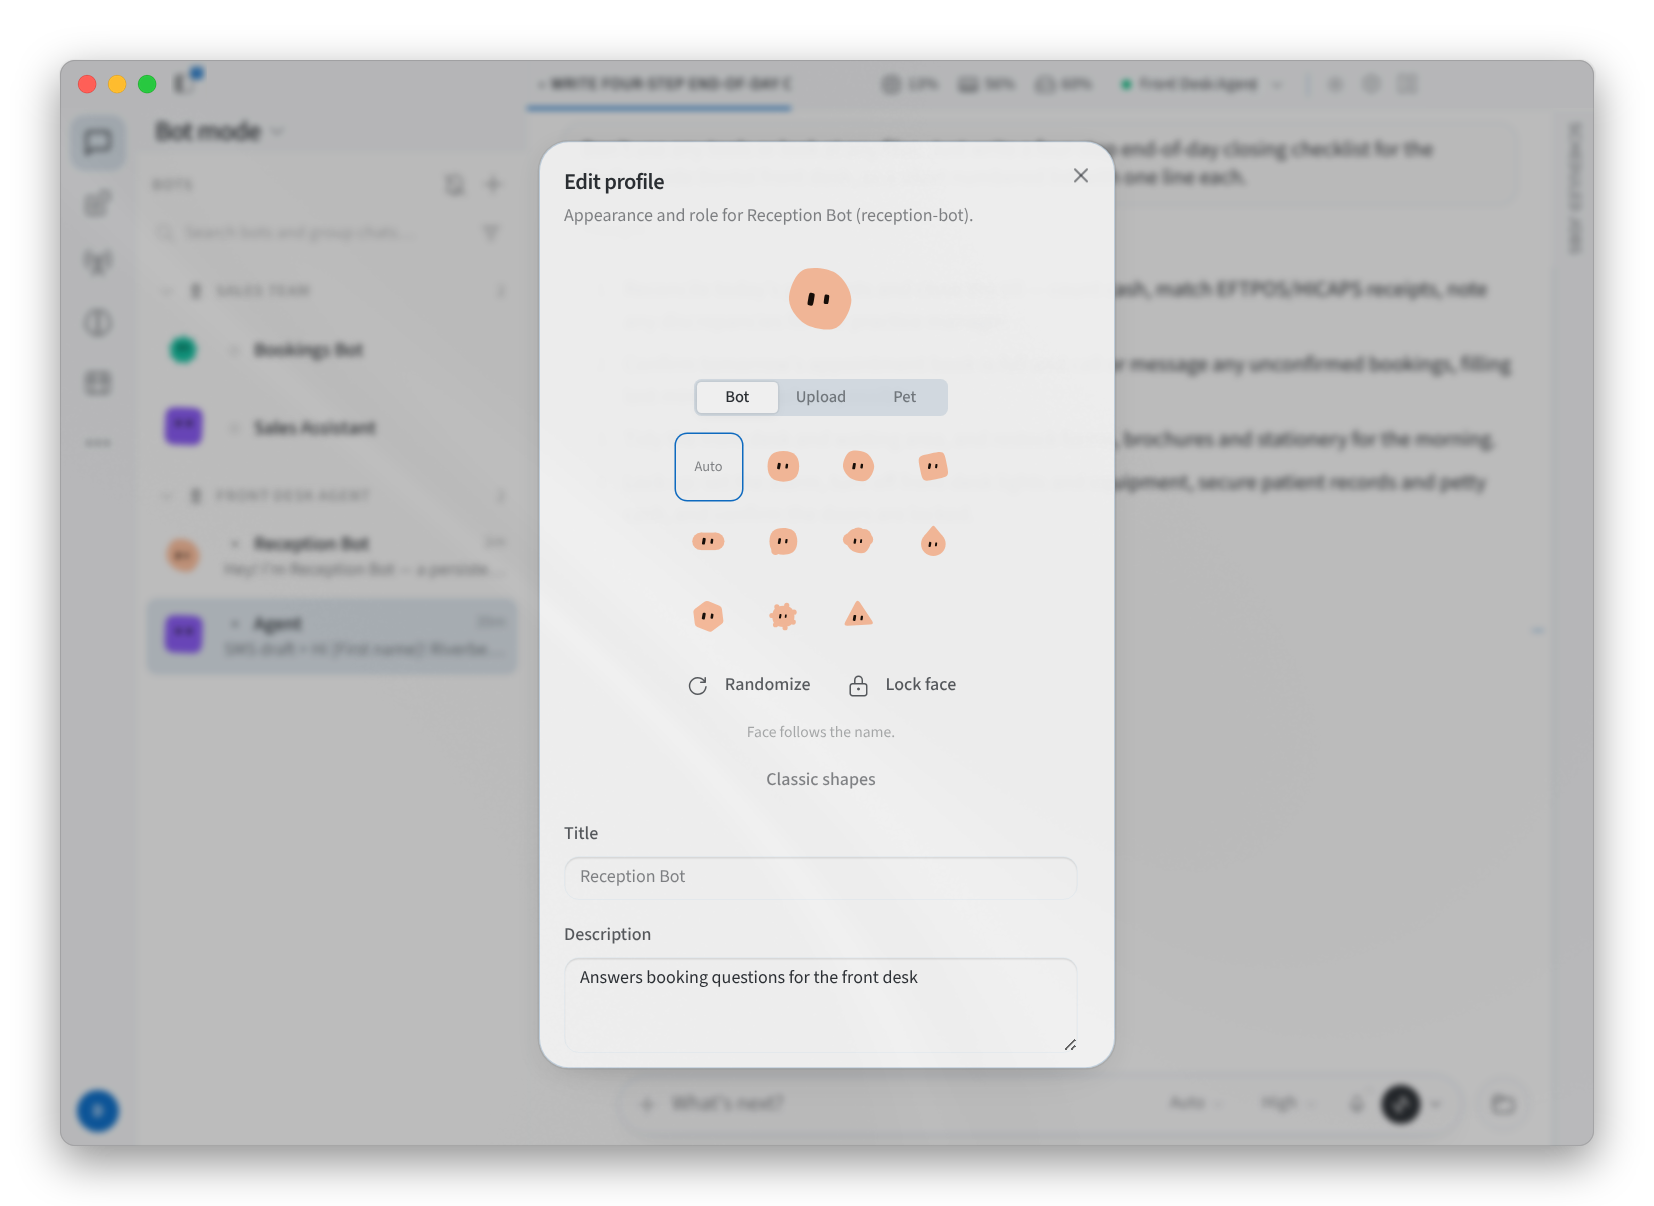
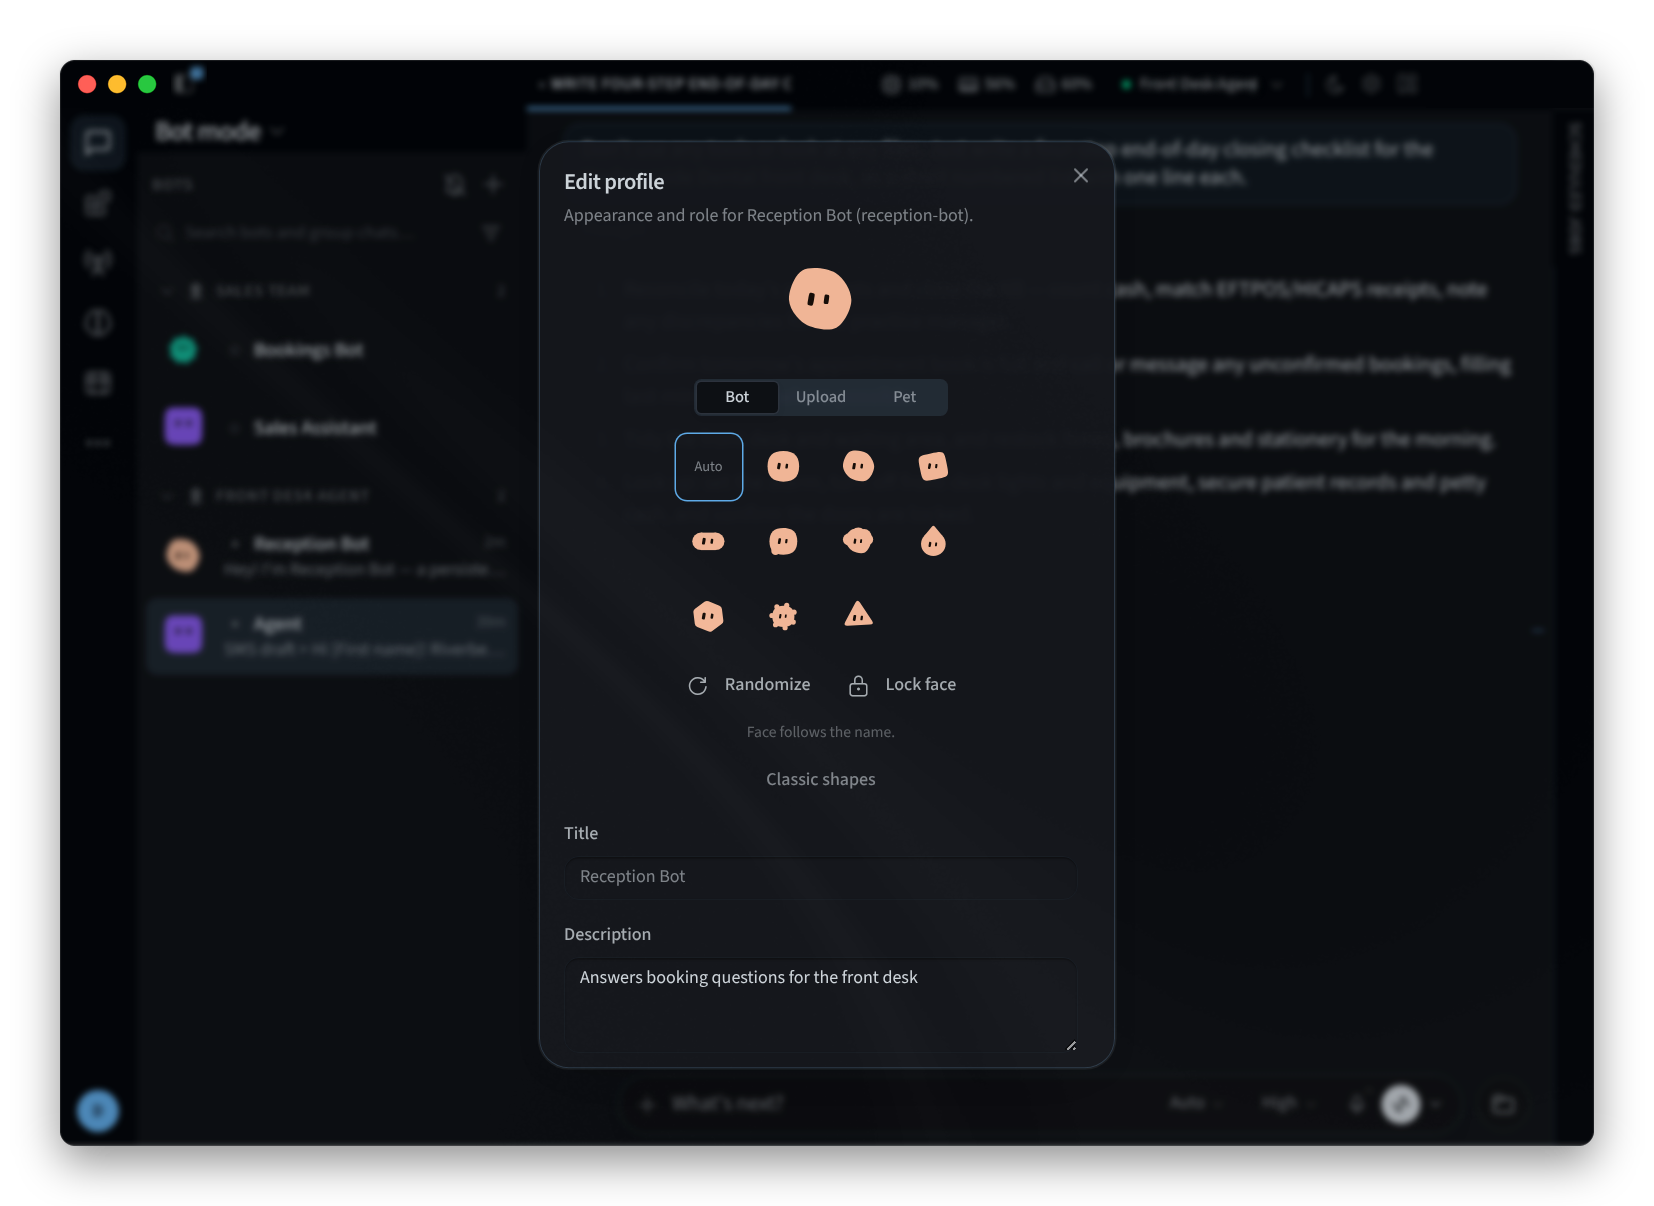
Figure 6: Editing a bot's appearance and role
To group bots in the sidebar, click +, then New section, and use Move to section on each bot.
Related pages
- Desktop app (Mac and Windows): install, sign in and the welcome screens
- Install on Linux: the desktop app on Linux
- Getting around: the window, the side menu and sessions
- Settings: the app's settings